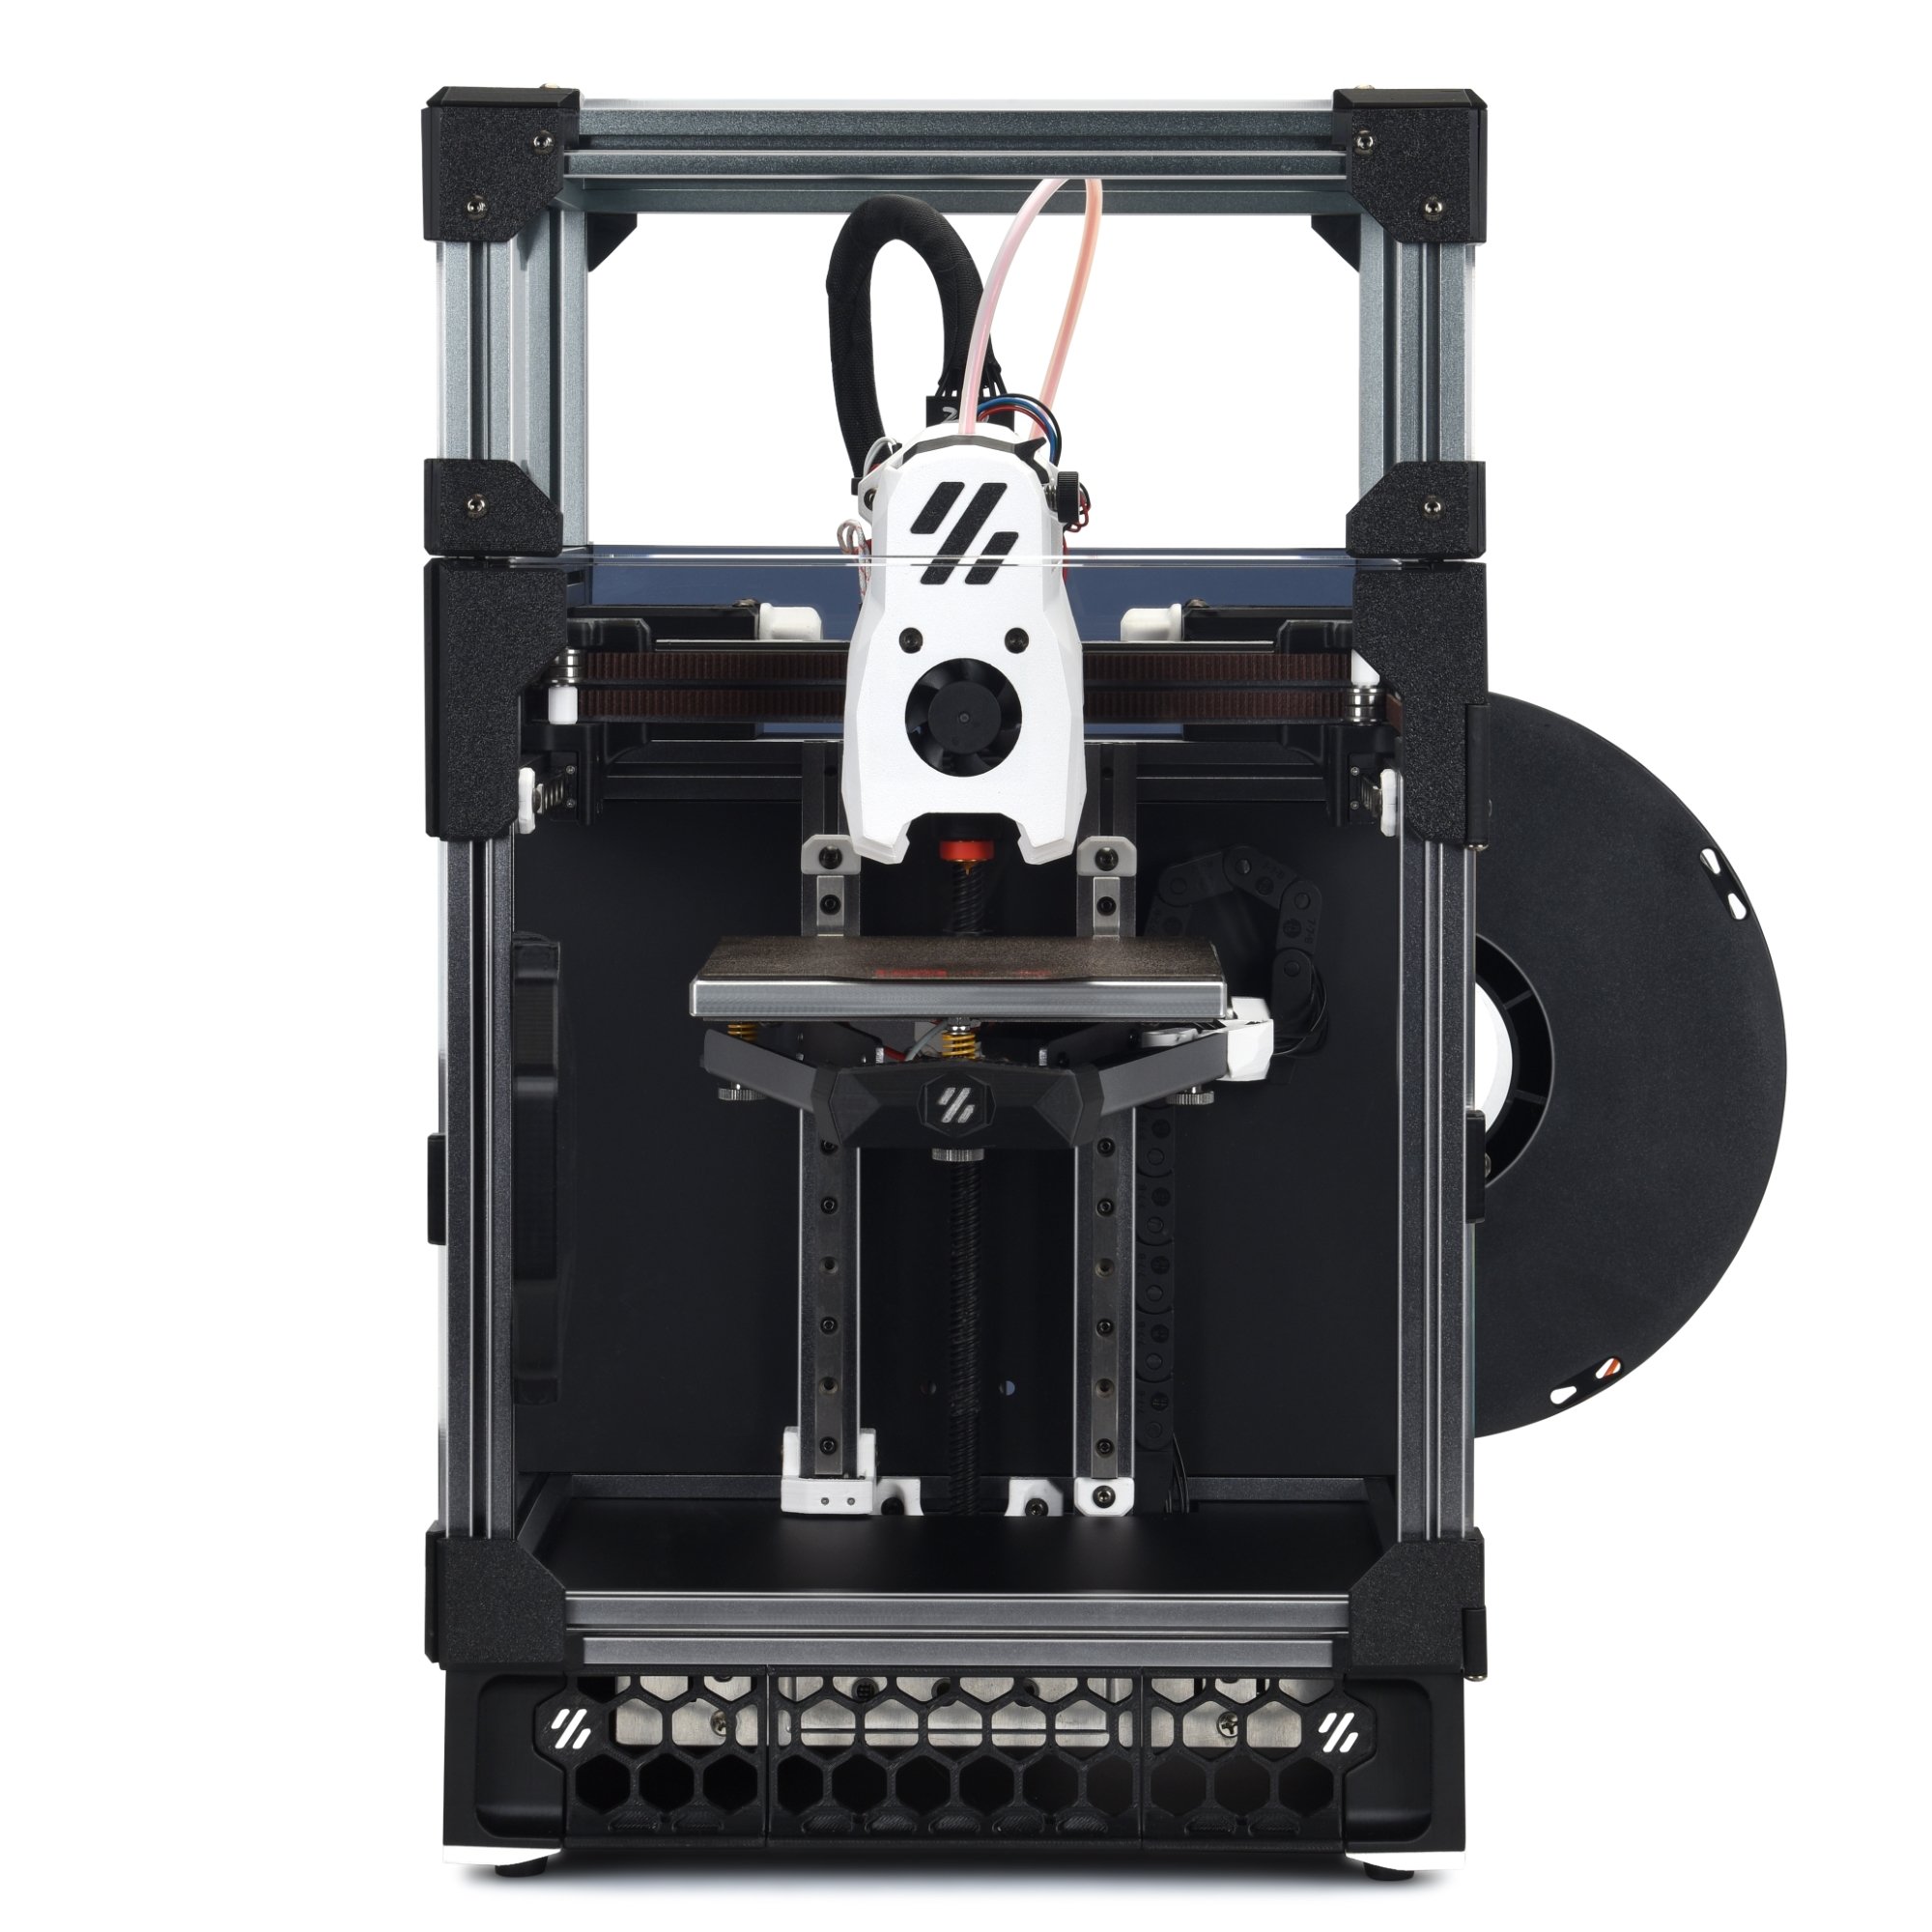
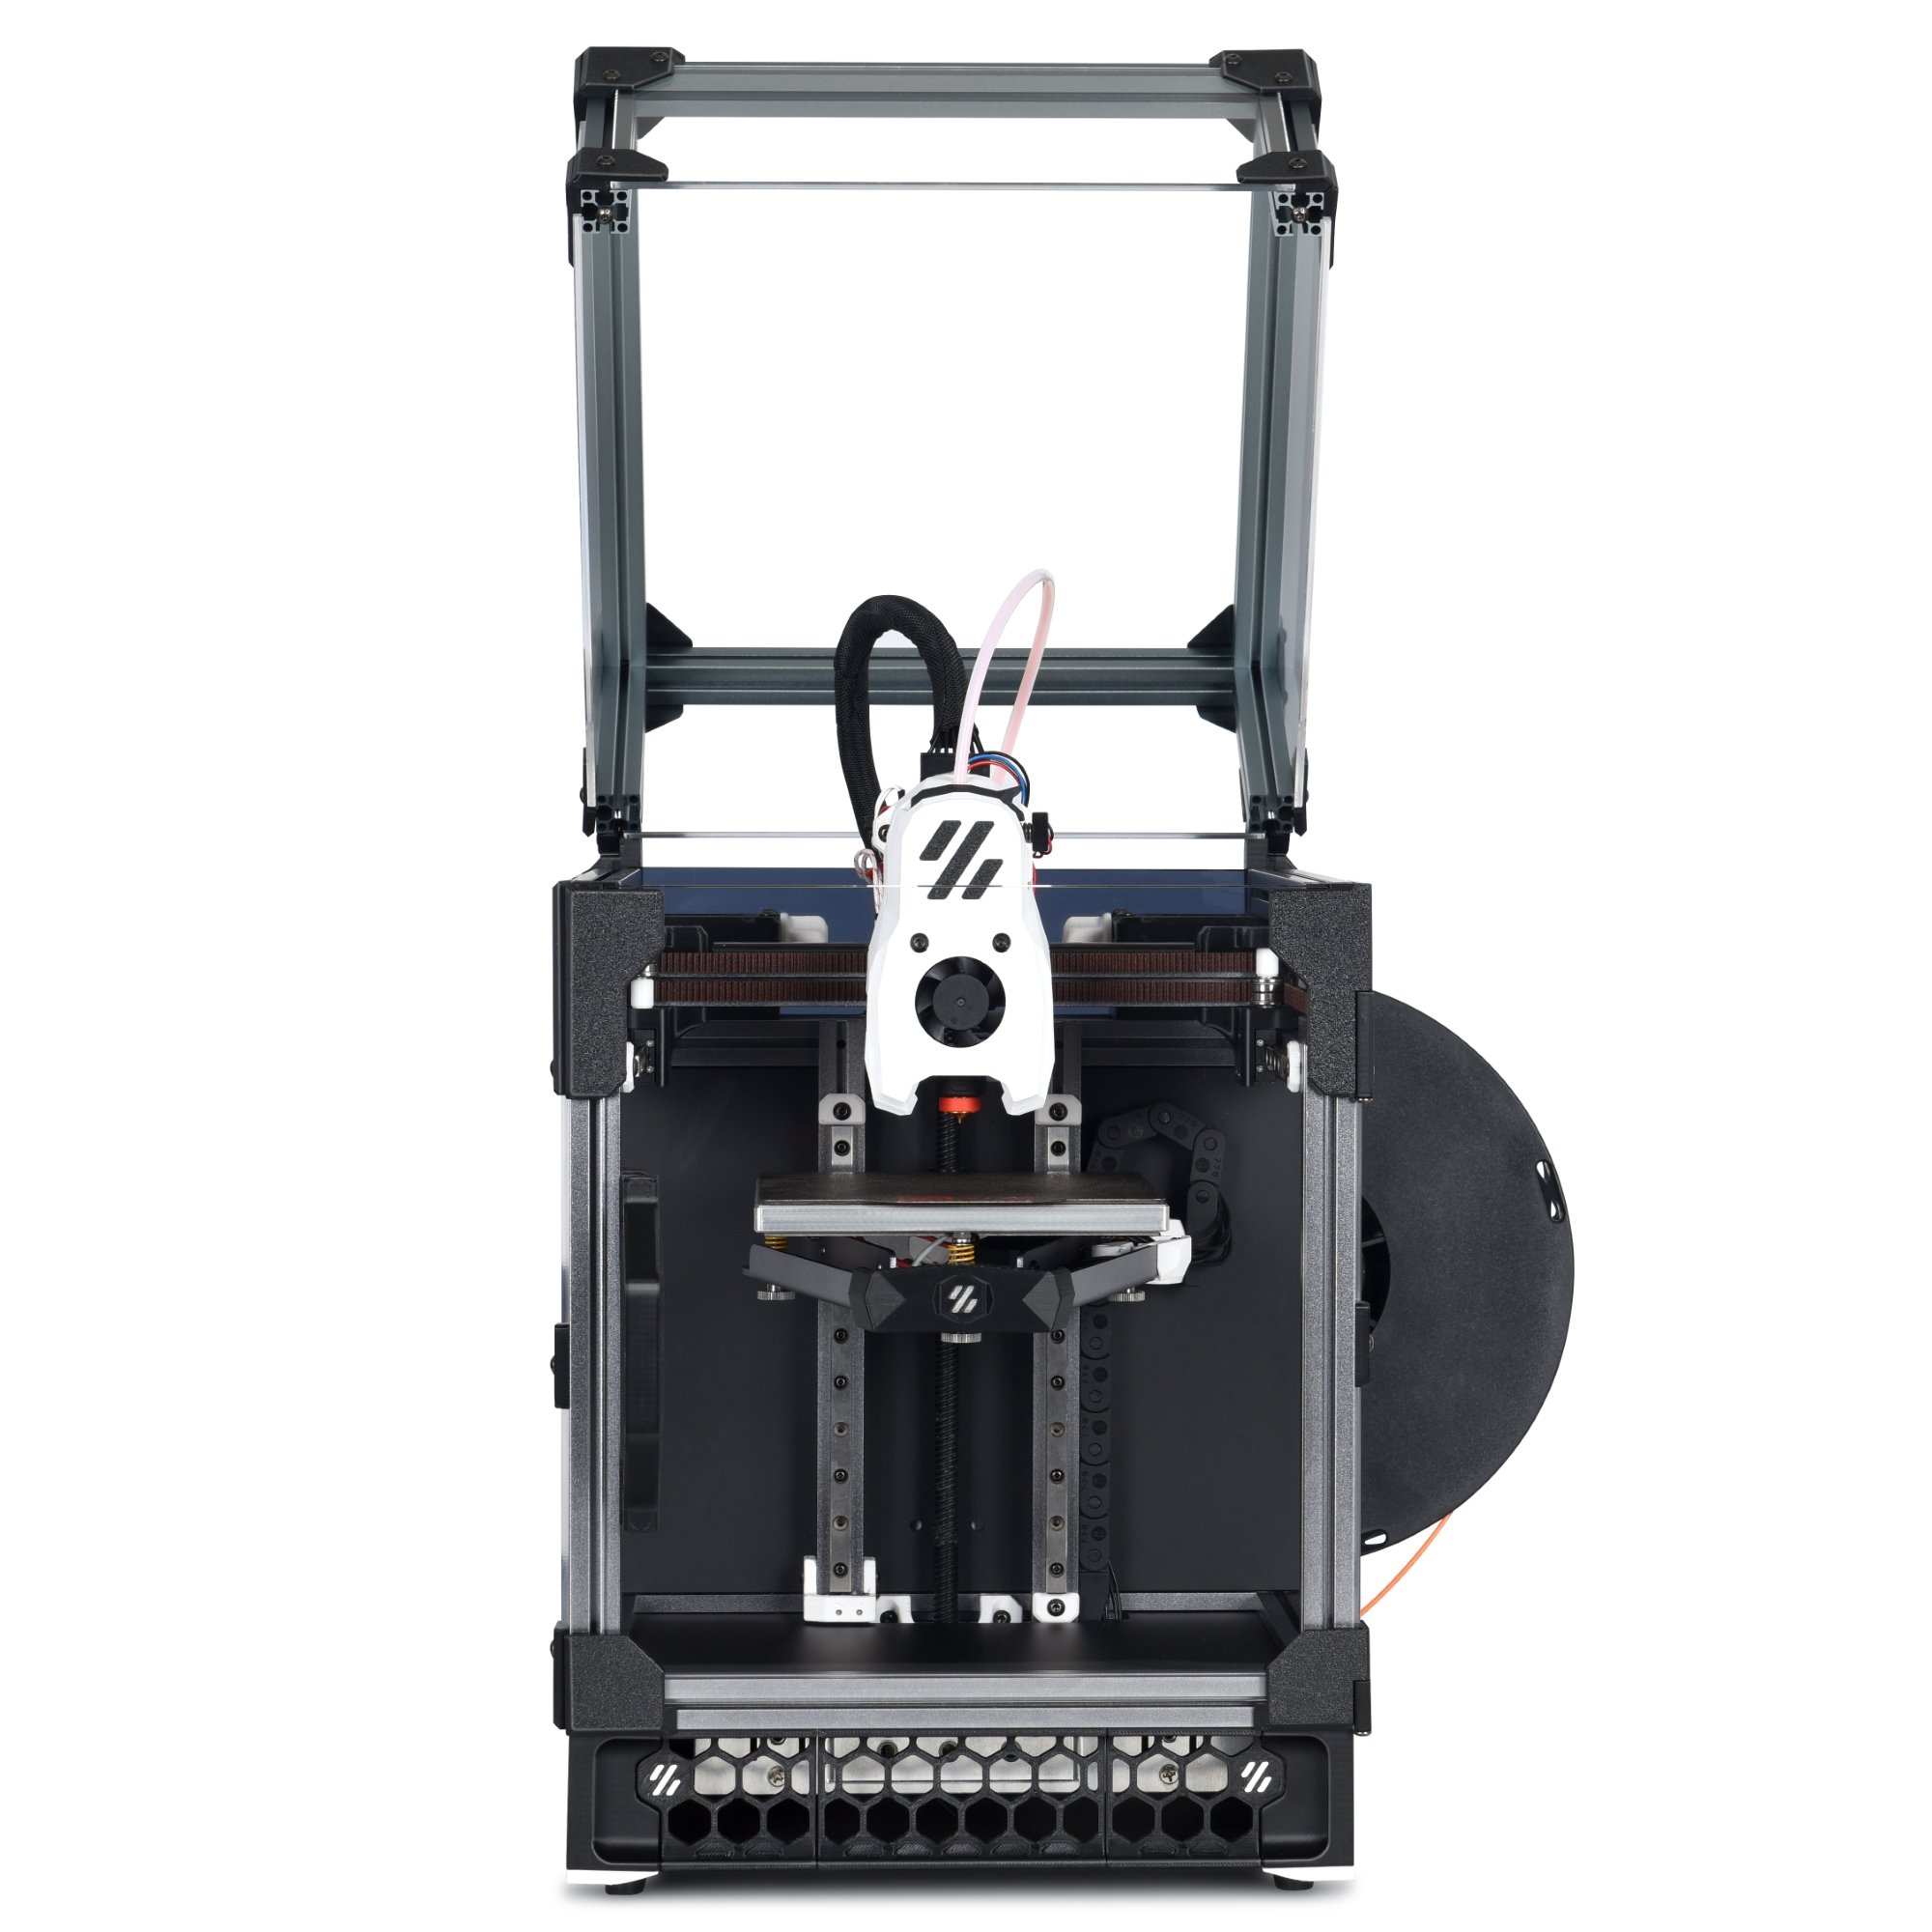
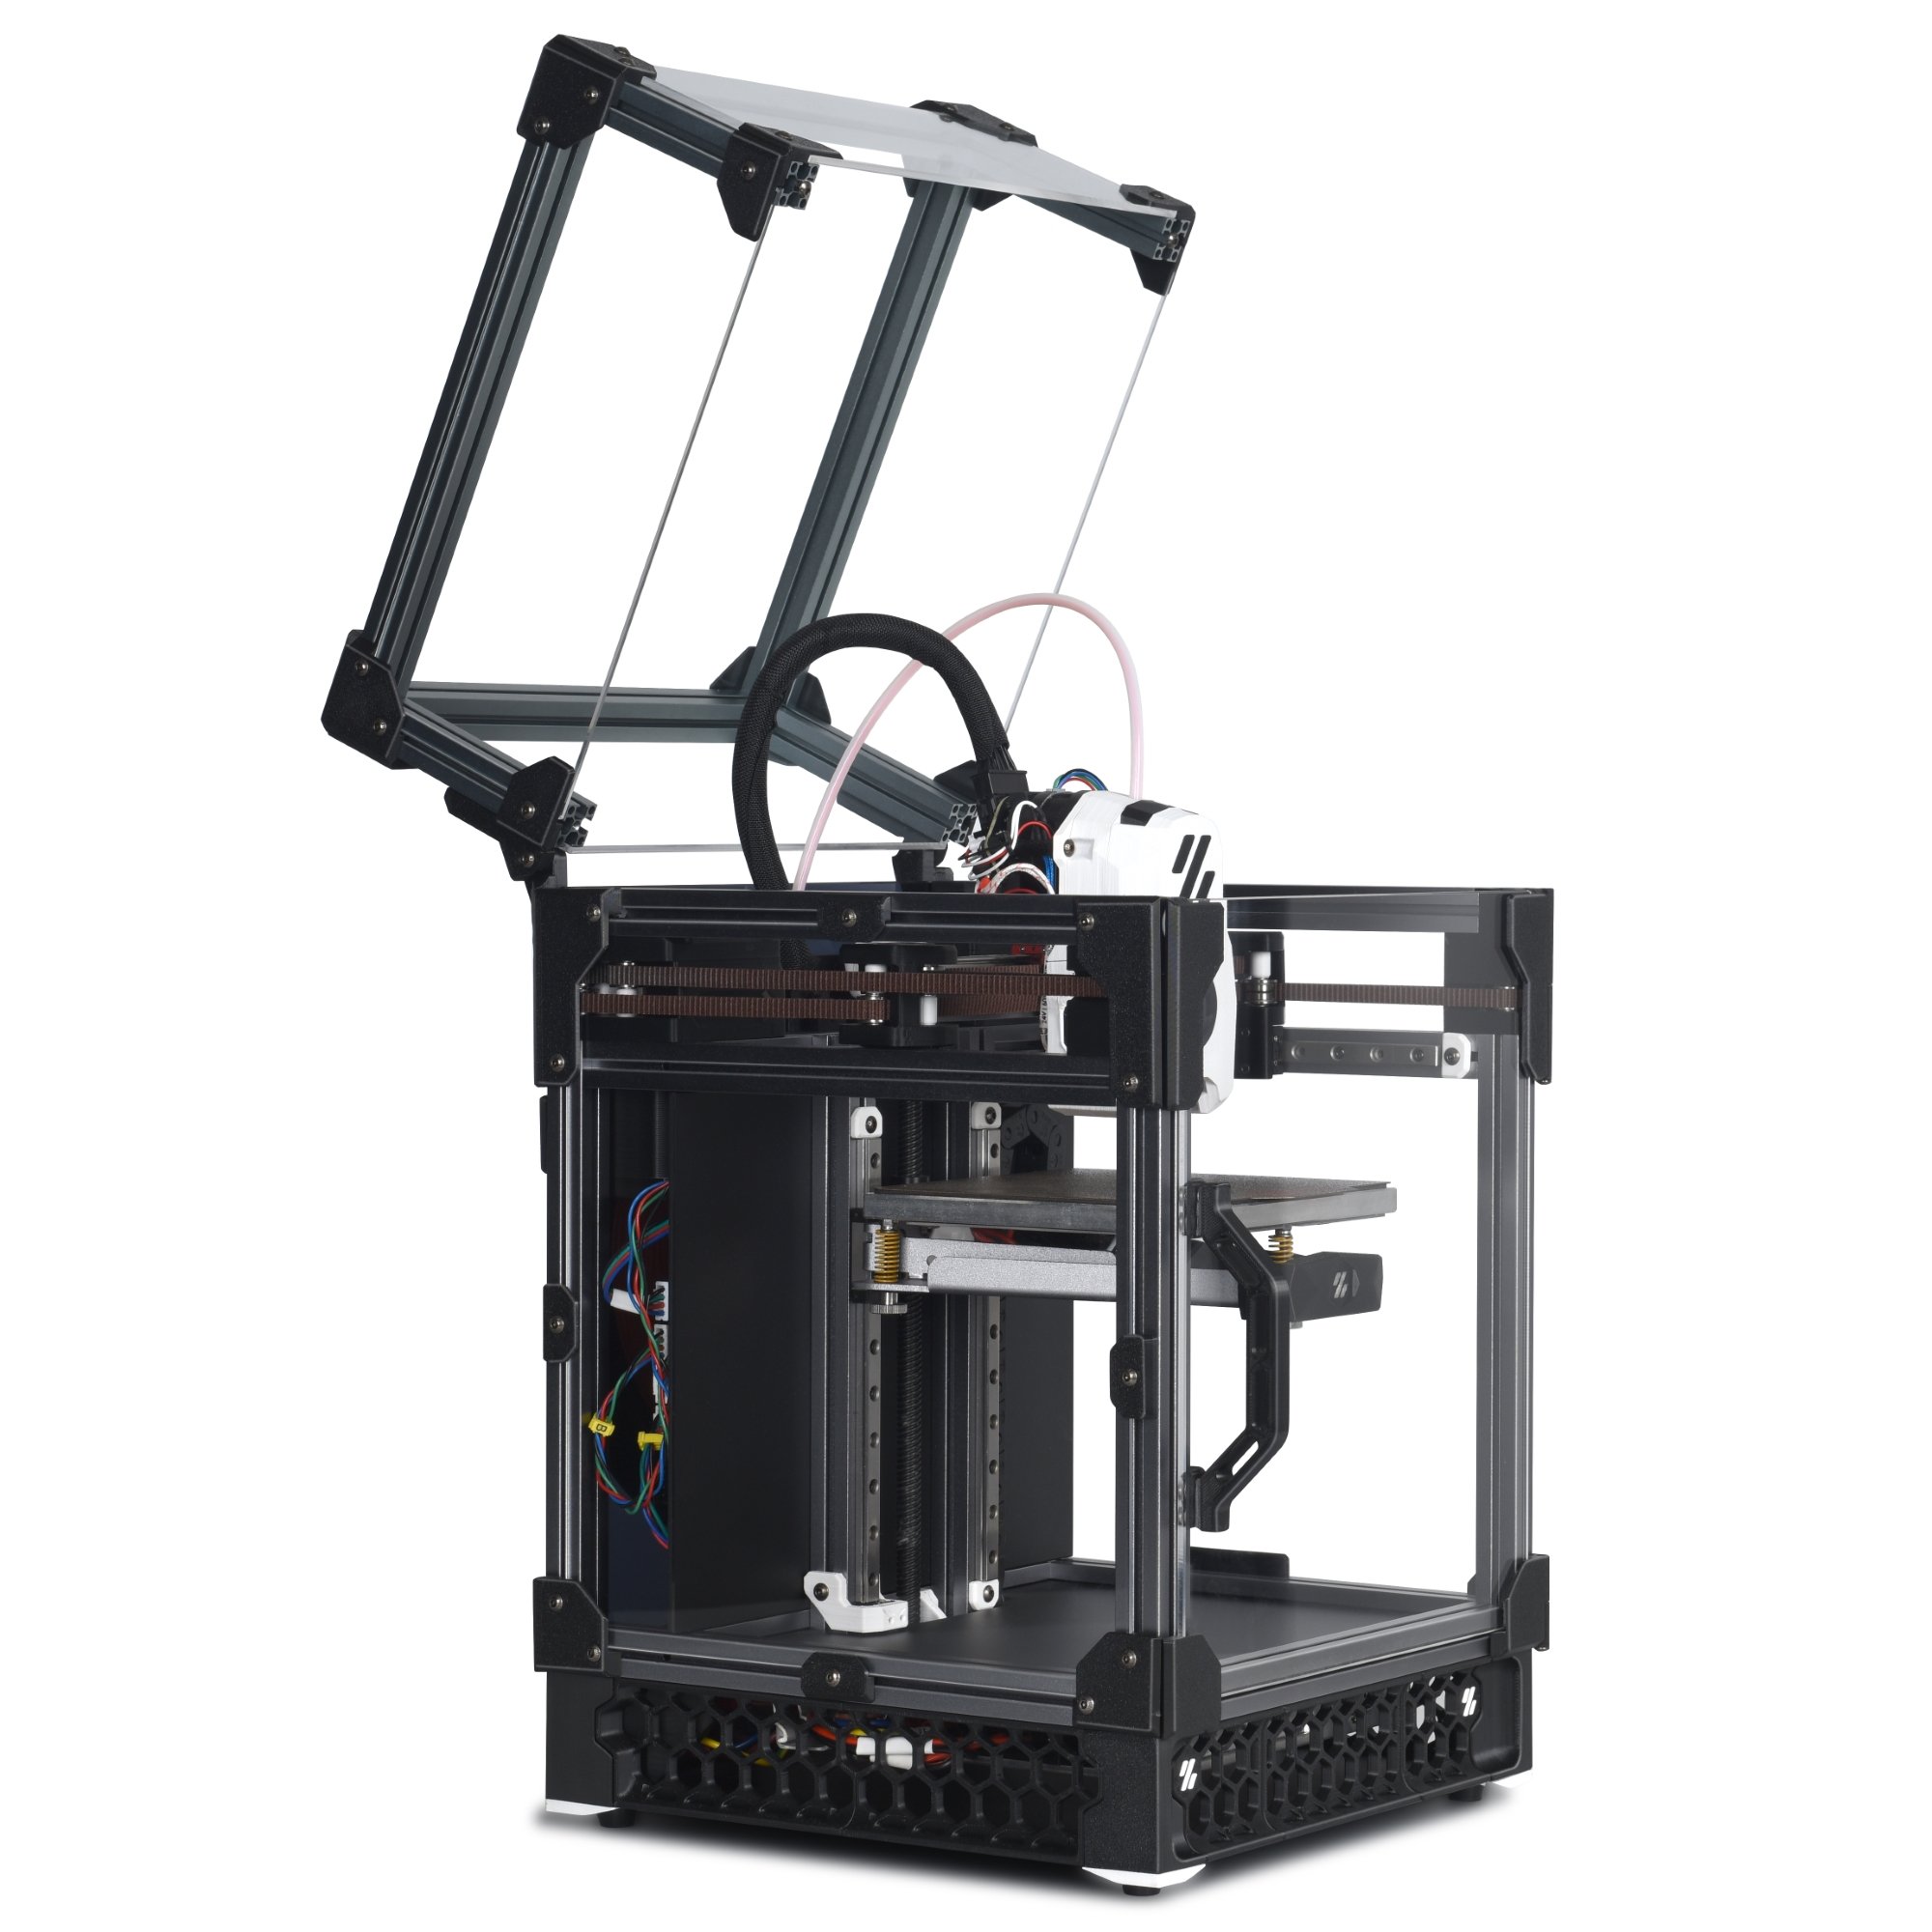
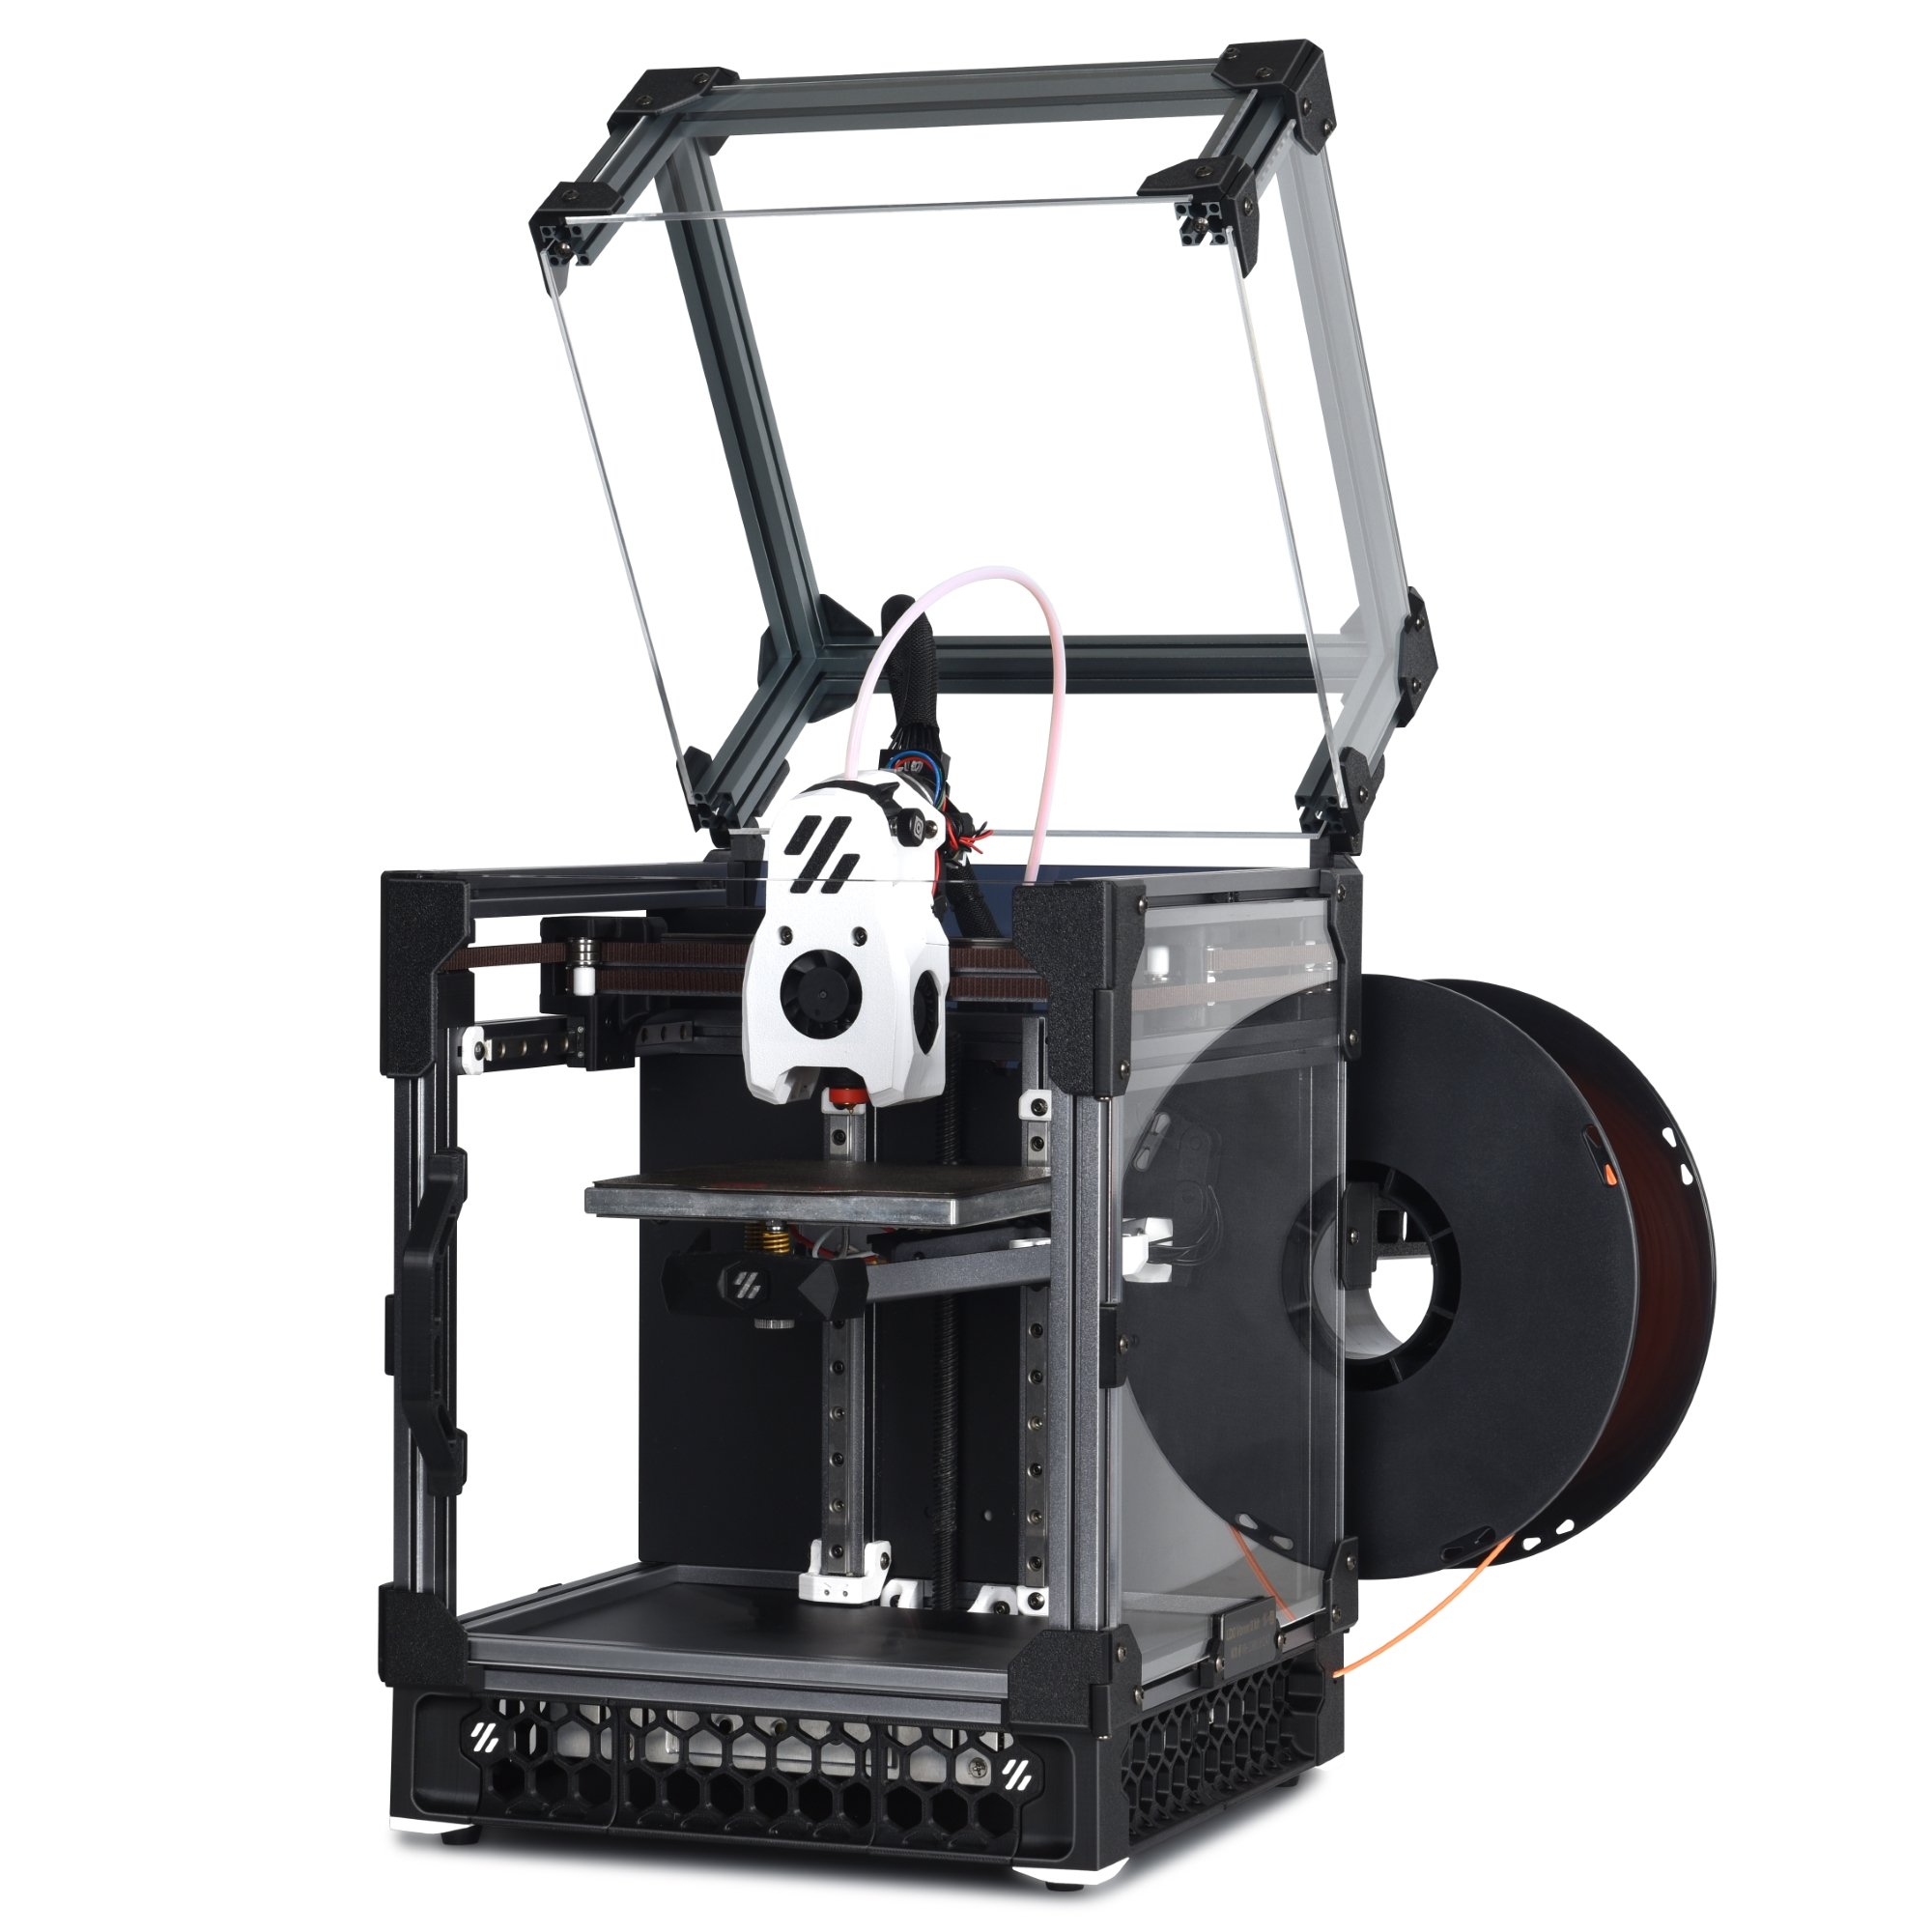
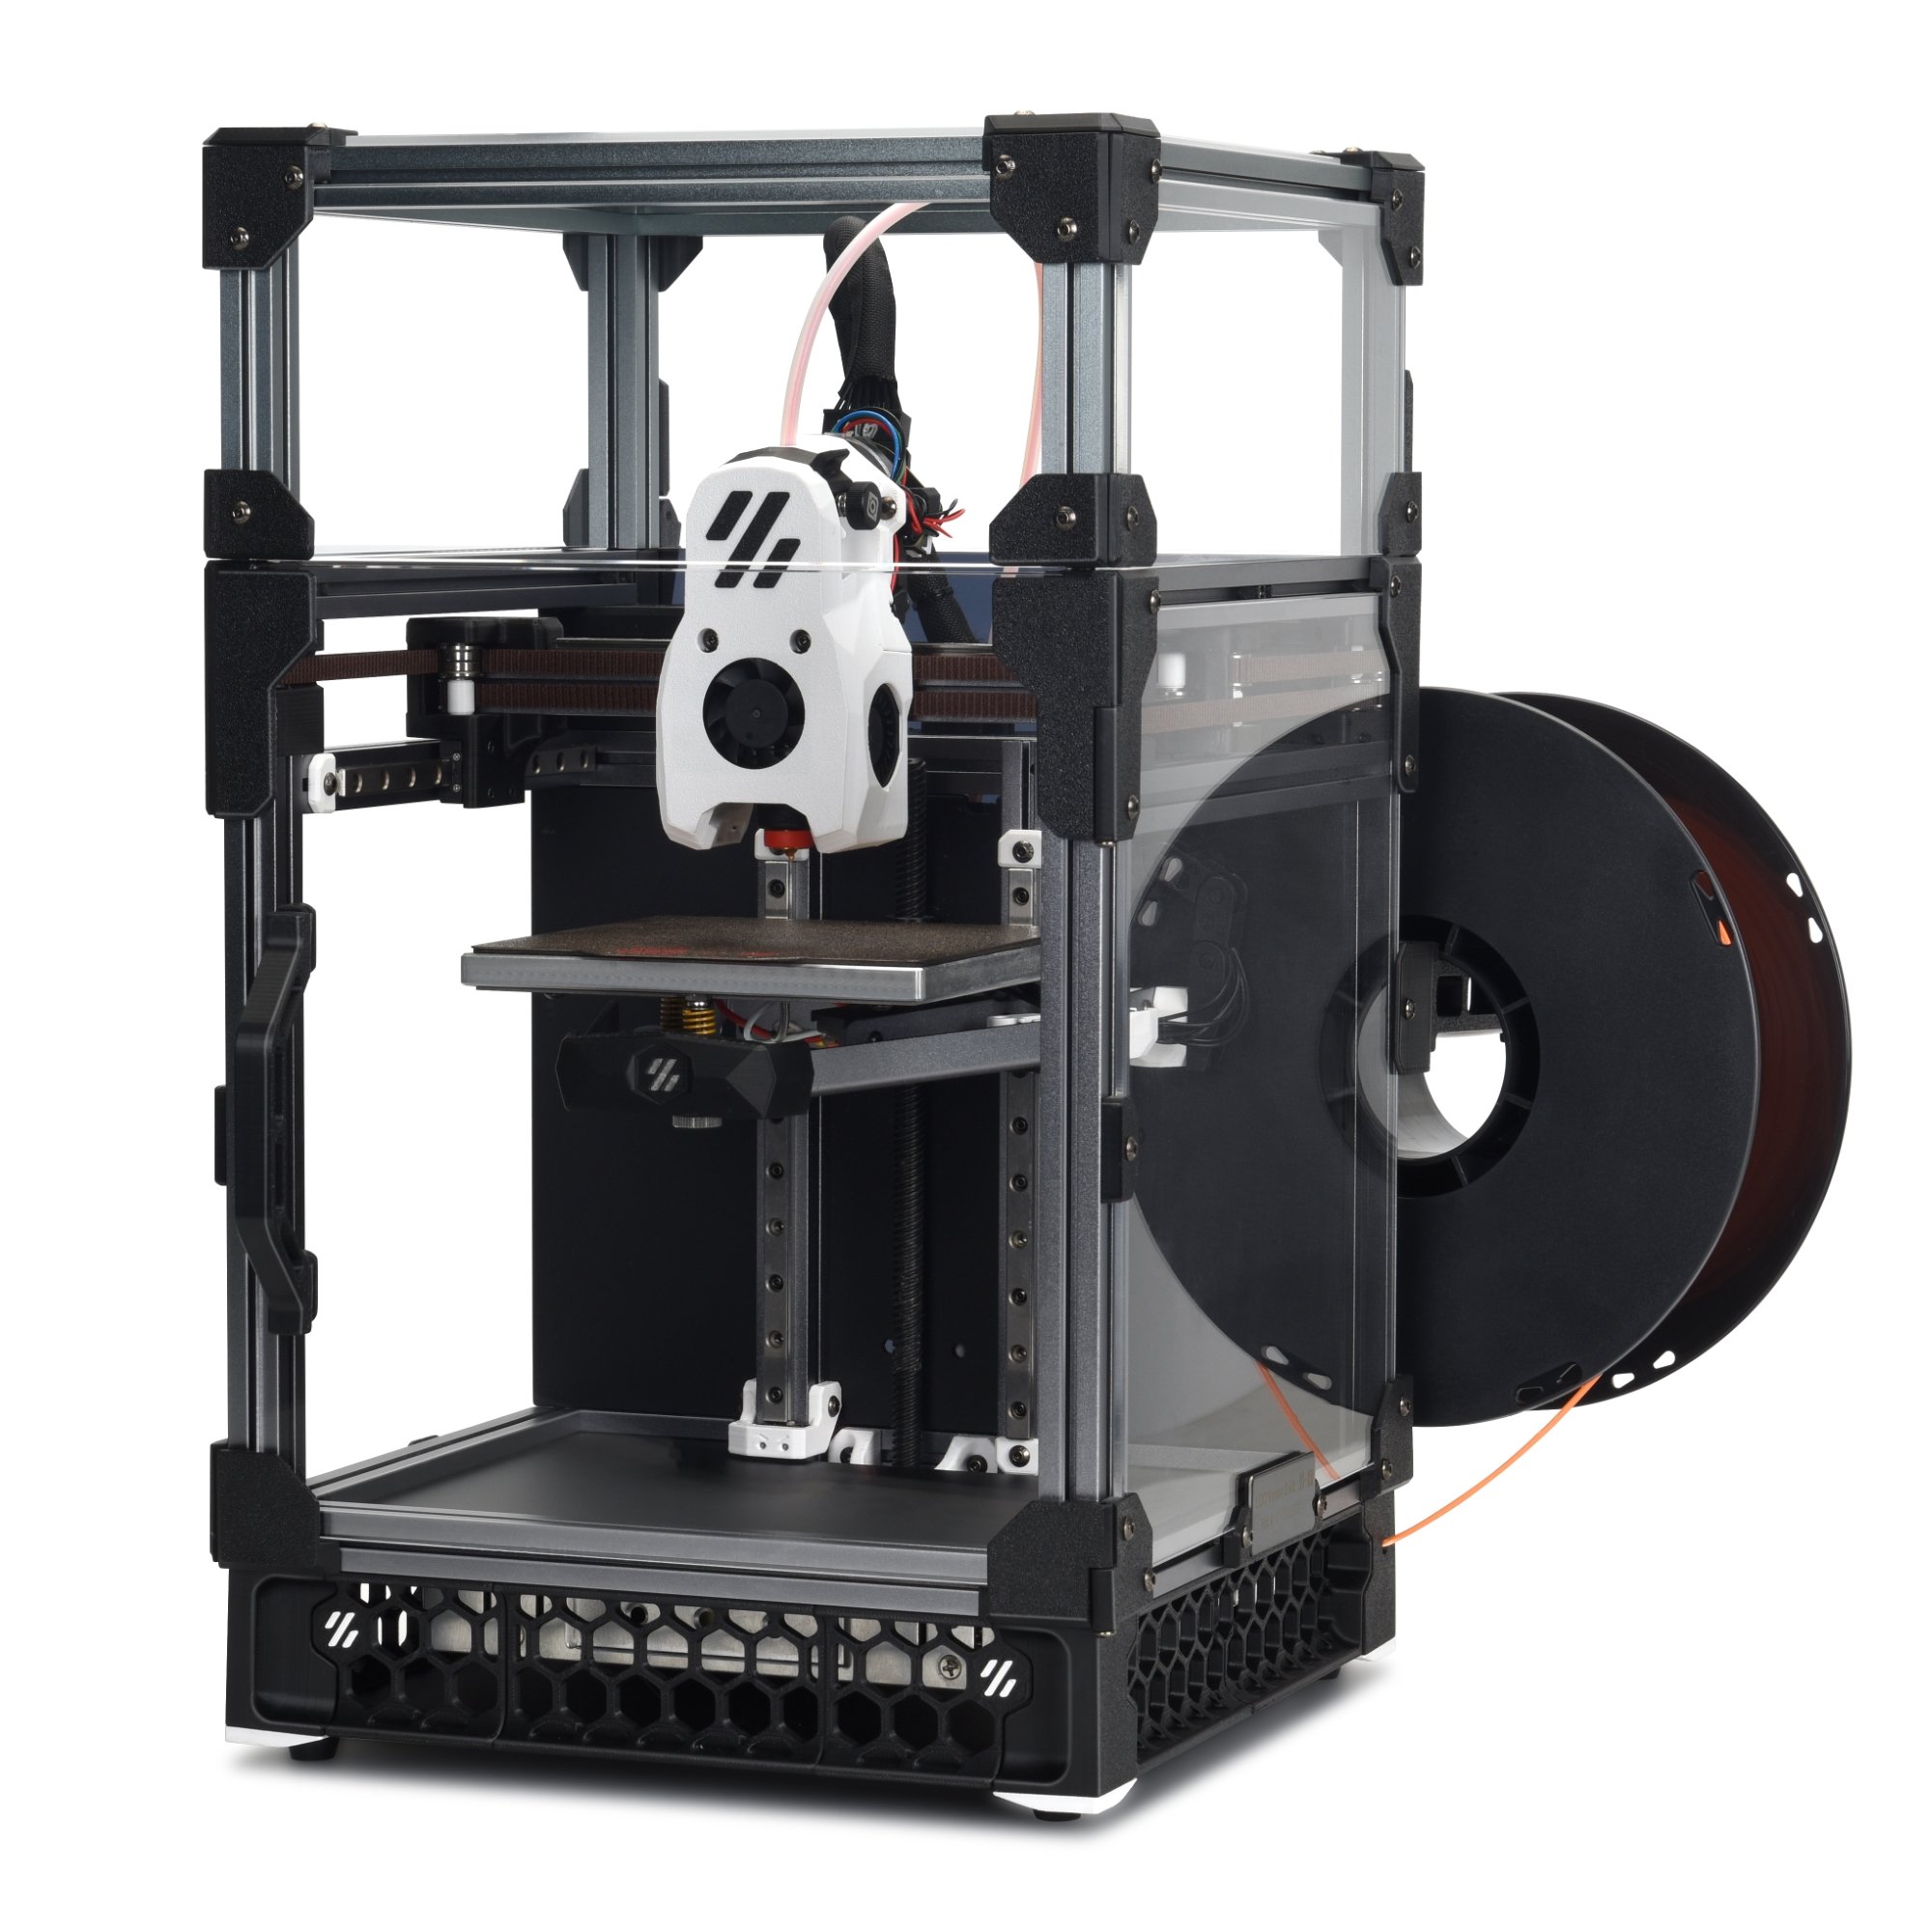
このキットにはRaspberry Piと3Dプリントパーツが付属していません。組み立て・動作させるためには別途調達が必要です。
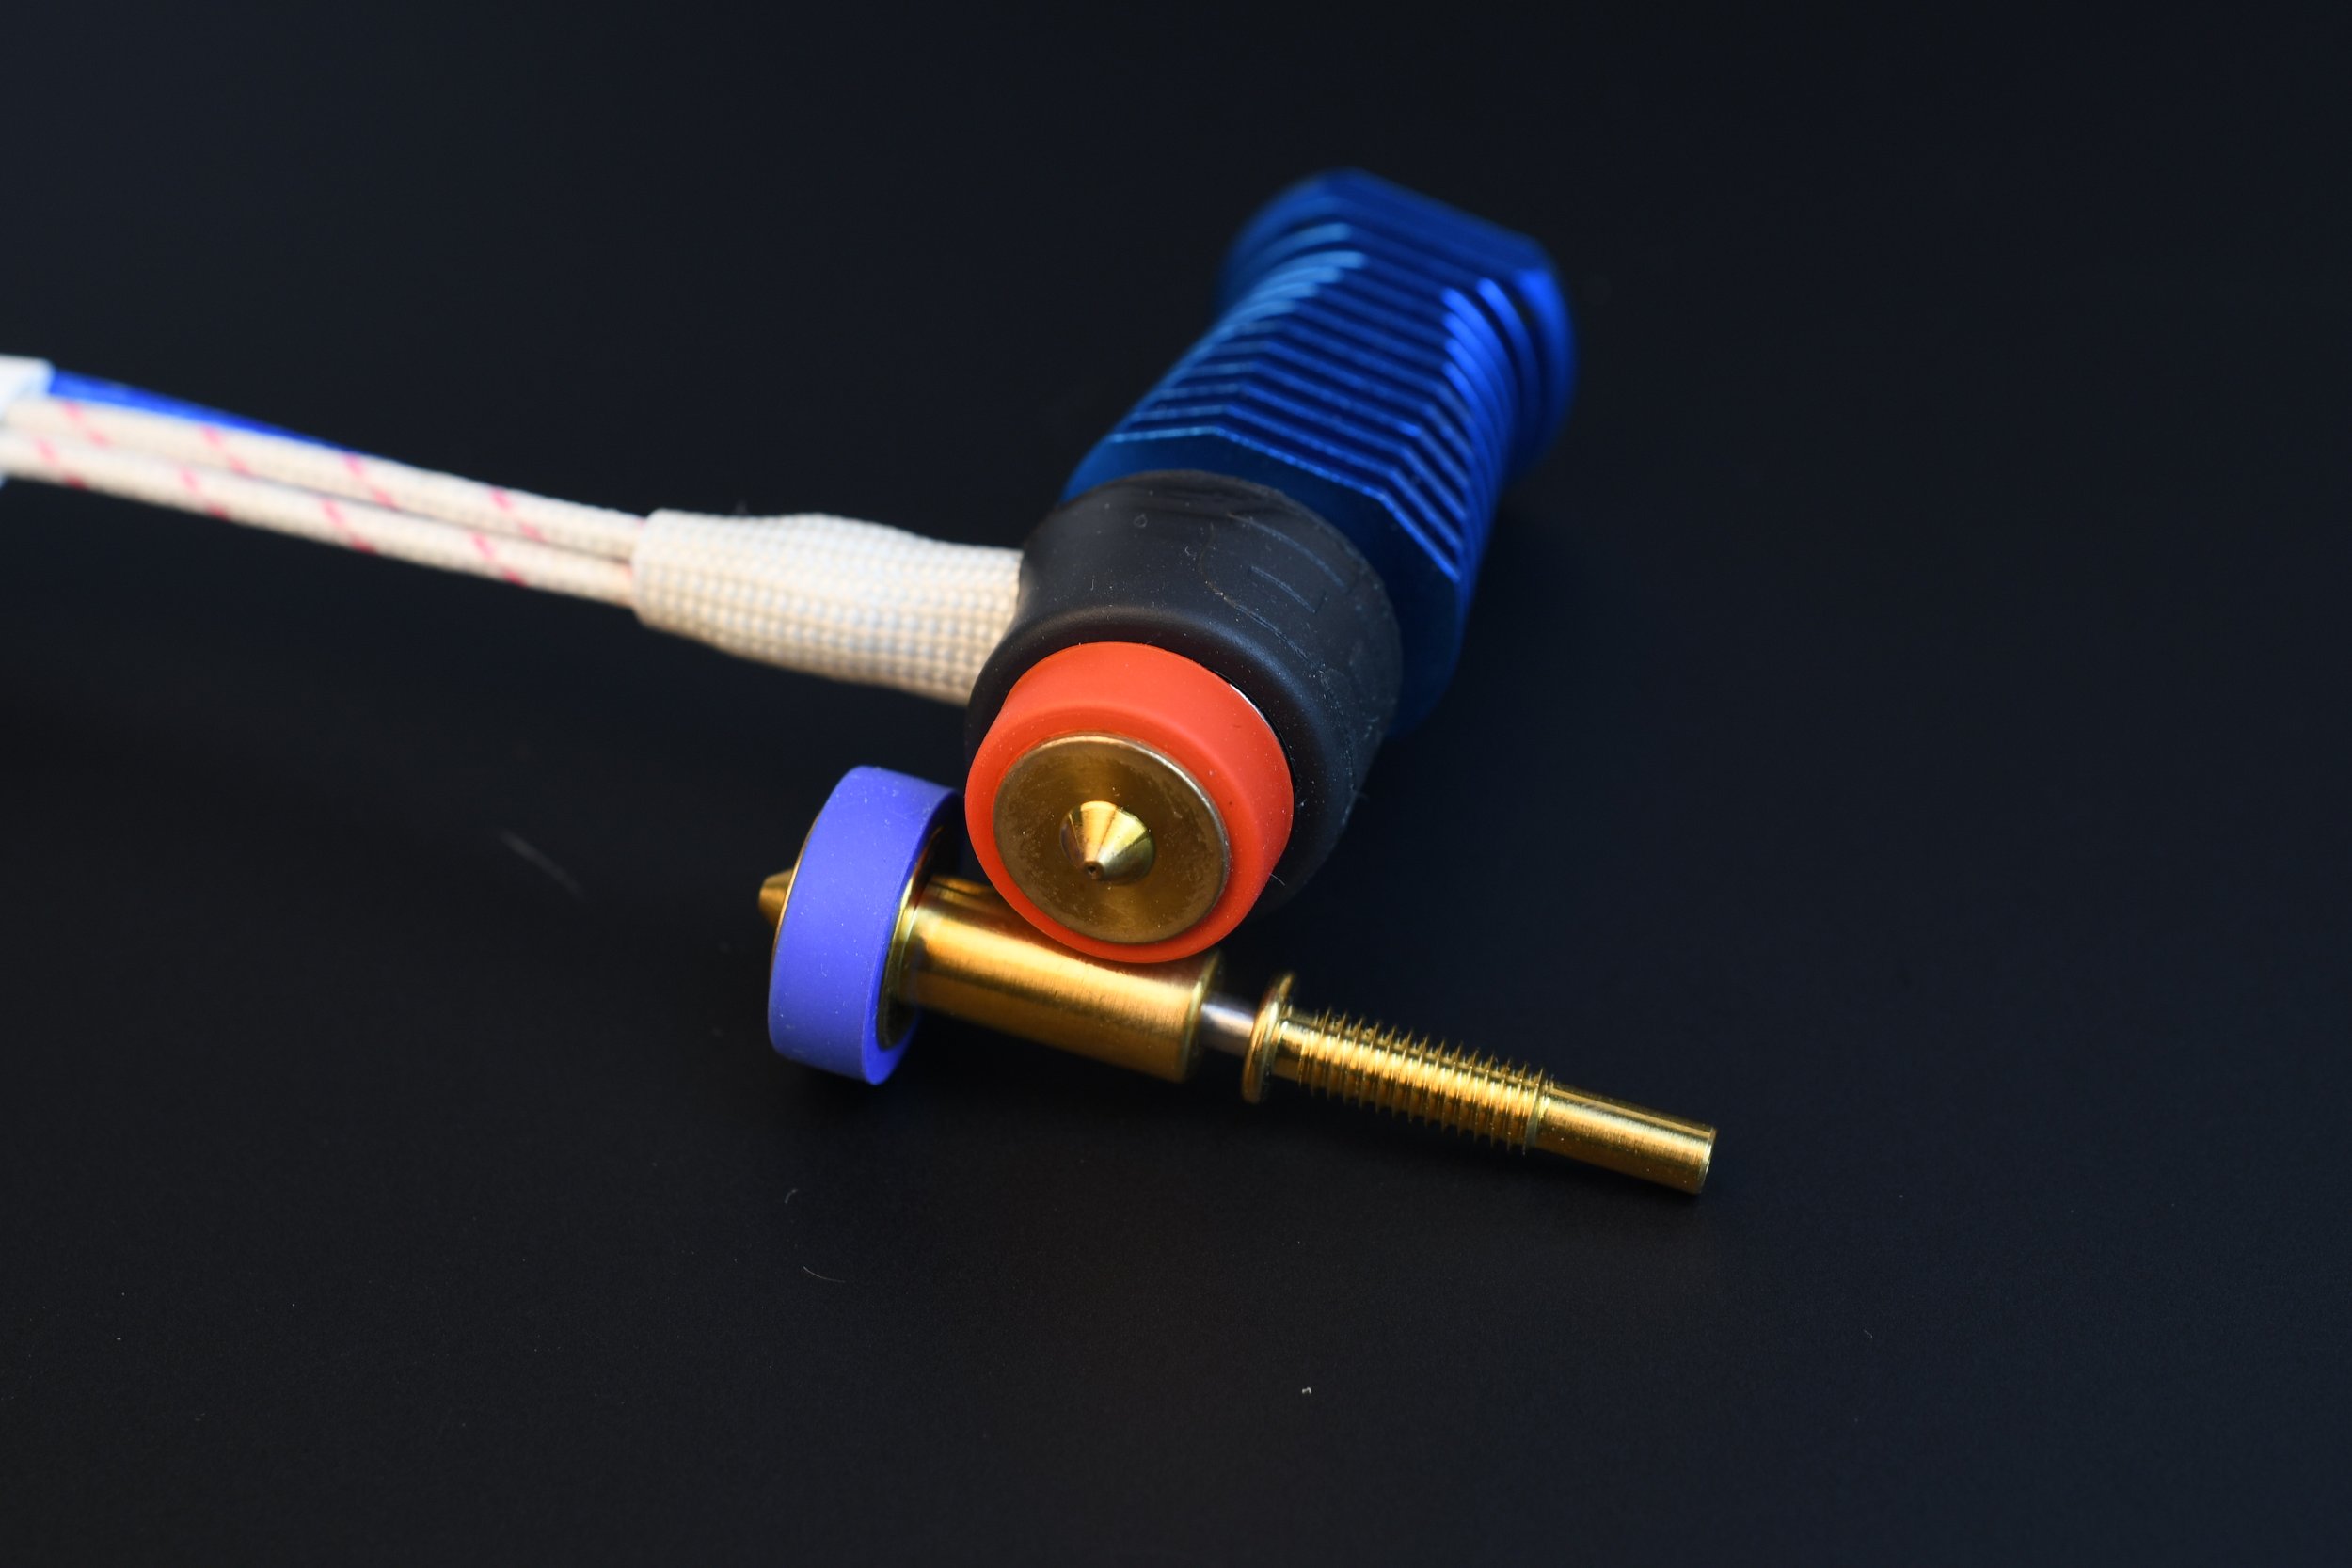
ホットエンドはRevo LDO Voronが付属します。
***重要事項***
3Dプリンターを扱った経験のない場合は、購入を再検討してください。
この3Dプリンターを組み立てるためには十分な時間、ツールと知識が必要です。少しの電気工学の知識と高度な3Dプリンターの知識を推奨します。このキットにはすでに圧着されたケーブルハーネスが付属してはいますが、圧着工具を所有していること、3Dプリントされたパーツを調達、又はプリントしていることが前提になります。経験豊富なVoronビルダーでも、1つのビルドを完成させるのに15~20時間かかります。初めてVoronを組み立てる人は、すべてを組み立てて印刷できるようになるまで40~50時間かかることも珍しくありません。
キットの購入と組み立てを決意するまえに、Voron Desiginが公開している"Assembly Manual"を読み込むことをおすすめします。
Voron購入ガイドとFAQを最後までお読み下さい。また、電話による技術/組み立てサポートは行っていませんのでご注意ください。質問とサポートはメールとDiscordでのみ行っています。
Please note this is a printer parts kit only, Raspberry Pi and 3D printed parts are not included and need to be procured separately but the hotend is included (Revo LDO Voron).
**** Important remarks before you buy this Kit
If you don’t have any experience with 3d printers, do not buy this kit.
You need time and tools to build this 3d printer. DC electronics and advanced 3D printer knowledge is recommended. The LDO kit comes with already crimped cables, but It is assumed you know how to crimp cables, own a crimper, and have sourced/printed the required 3D Parts to complete the build. Experienced Voron builders take 15-20 hours to complete a build. It's not uncommon for first-time builders to be taking 40-50 hours before everything is complete and ready to print.
It is recommended you read the assembly manual in completion before committing to purchase and build a kit.
Read our Voron Buying Guide & F.A.Q. in completion & note that we do not provide technical / building support via phone - We only support questions/support via email & Discord.
Features & Extras
New special features for the LDO Kit - beyond the specifications and ahead of the competition.
Kirigami Bed mount for better stability and stiffness
Revo Hotend - LDO Voron edition - quickly interchangeable nozzles. Comes with a 0,4 and a 0,6 nozzle.
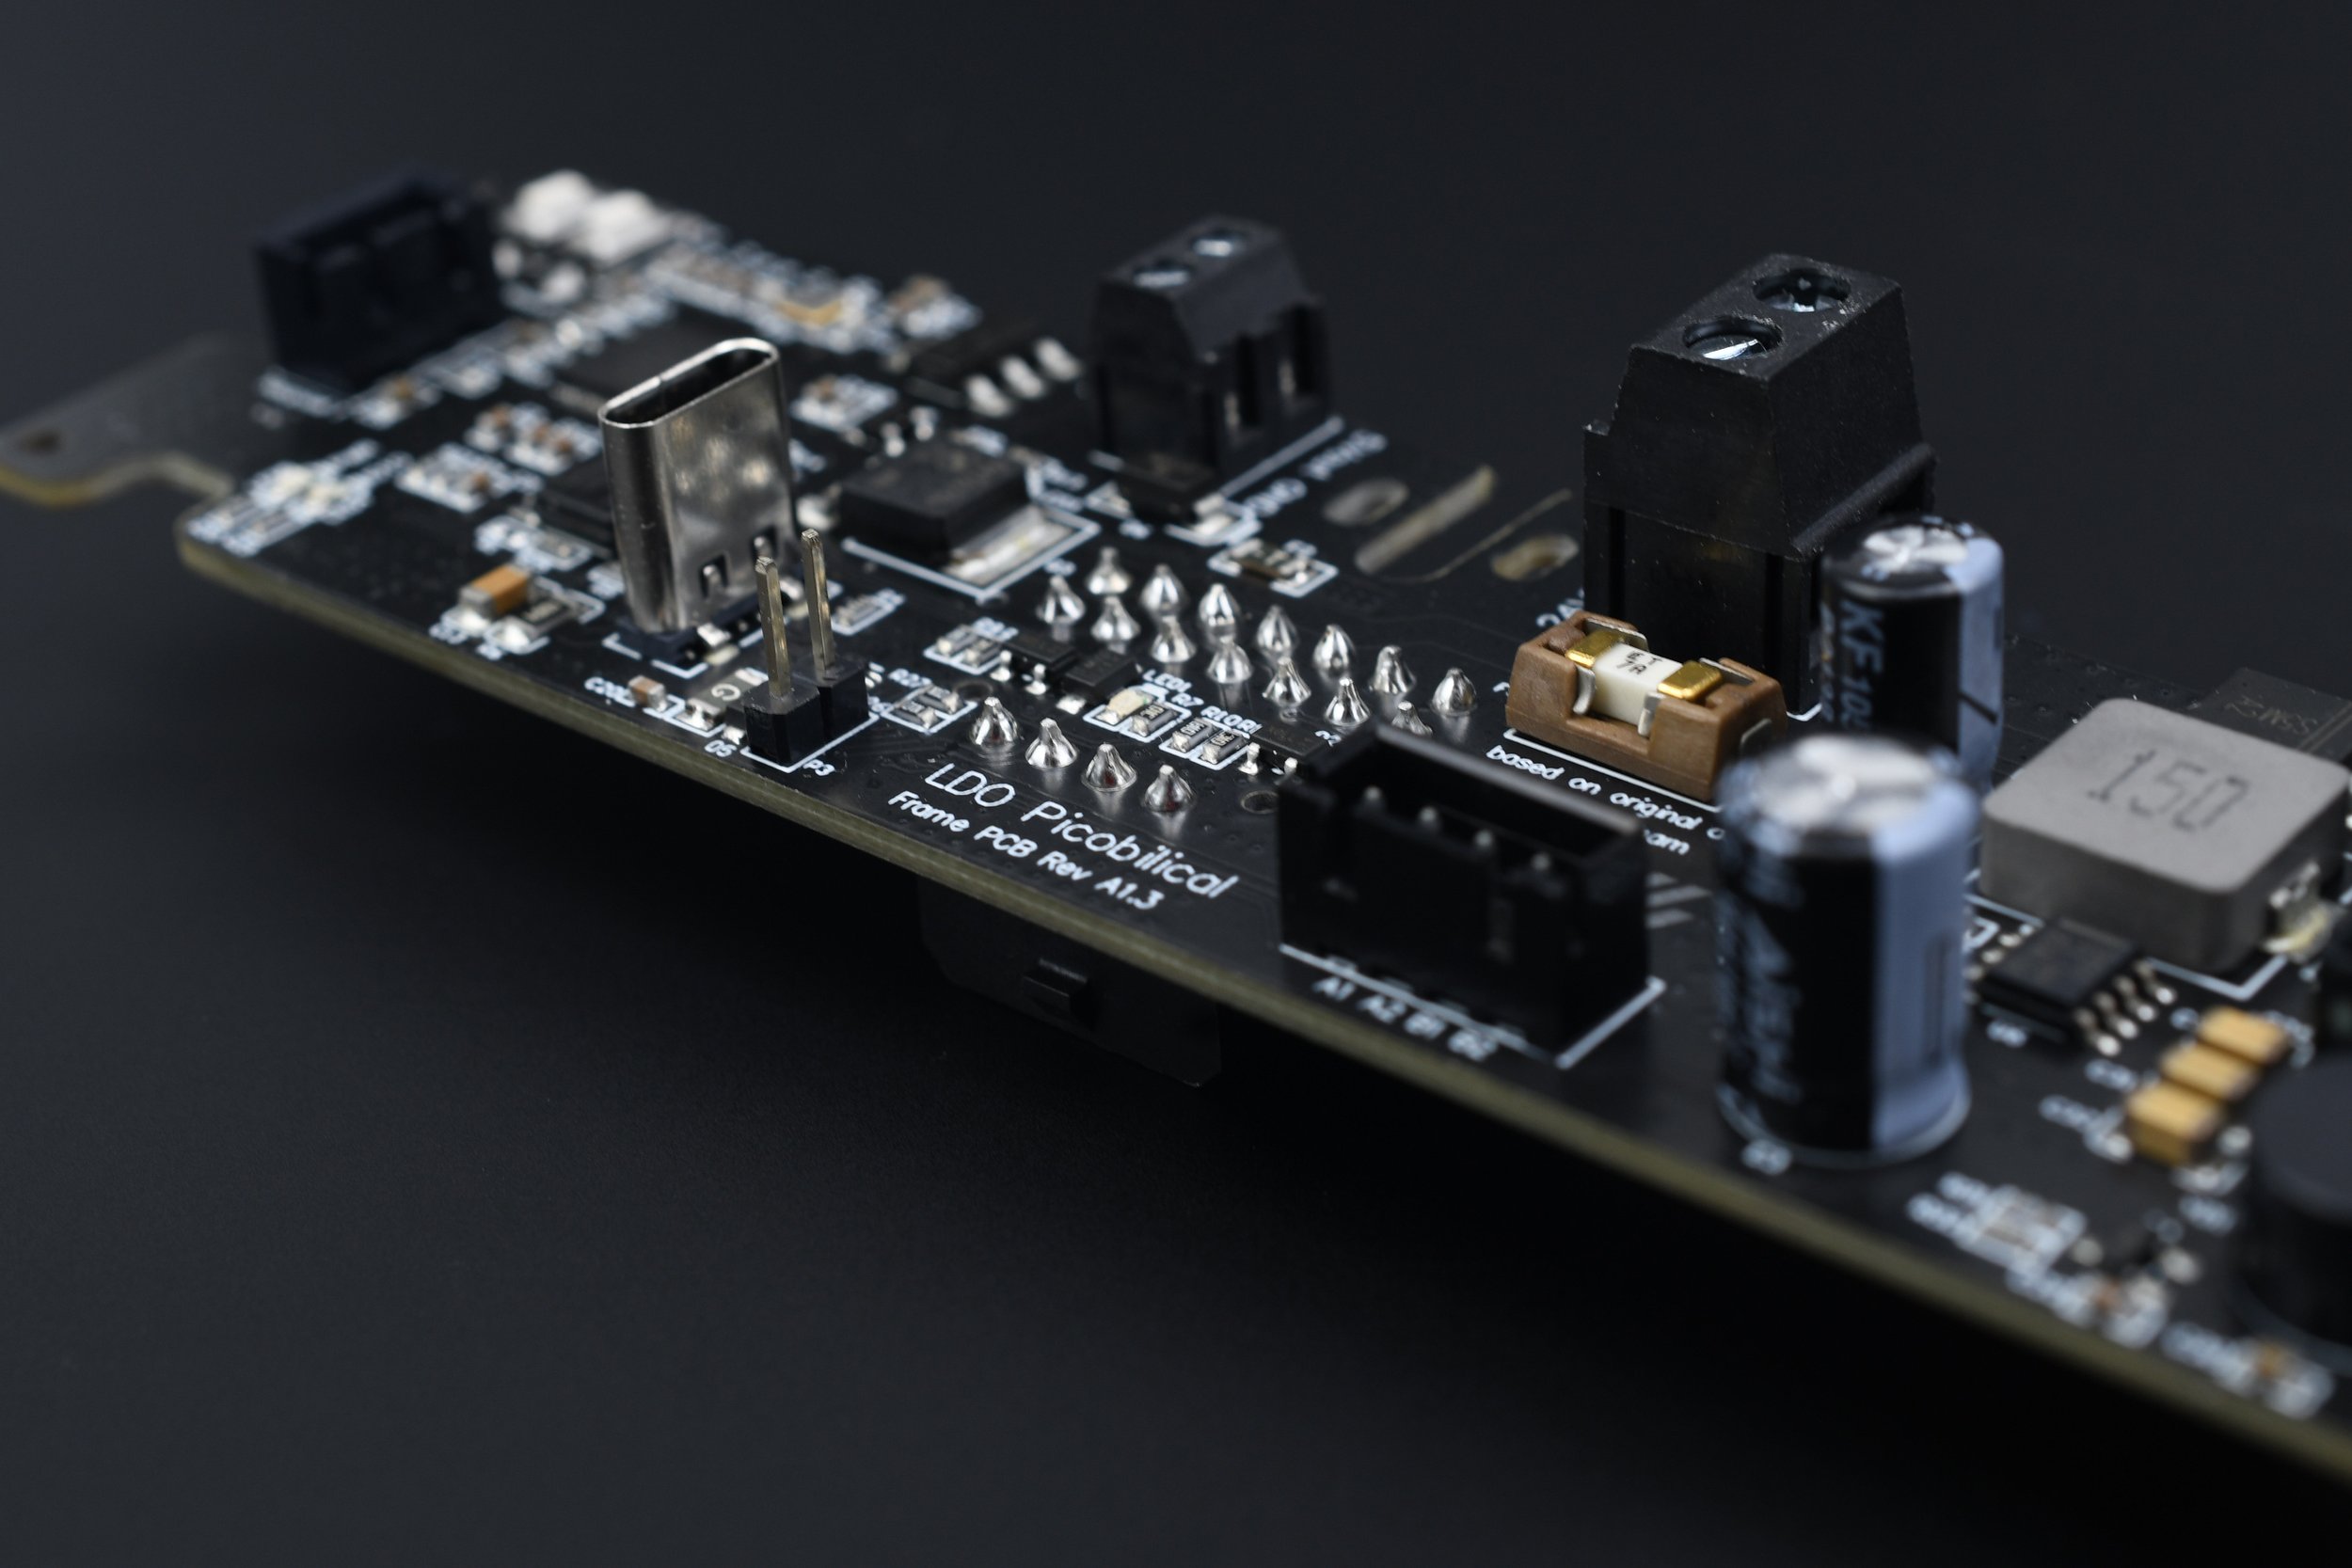
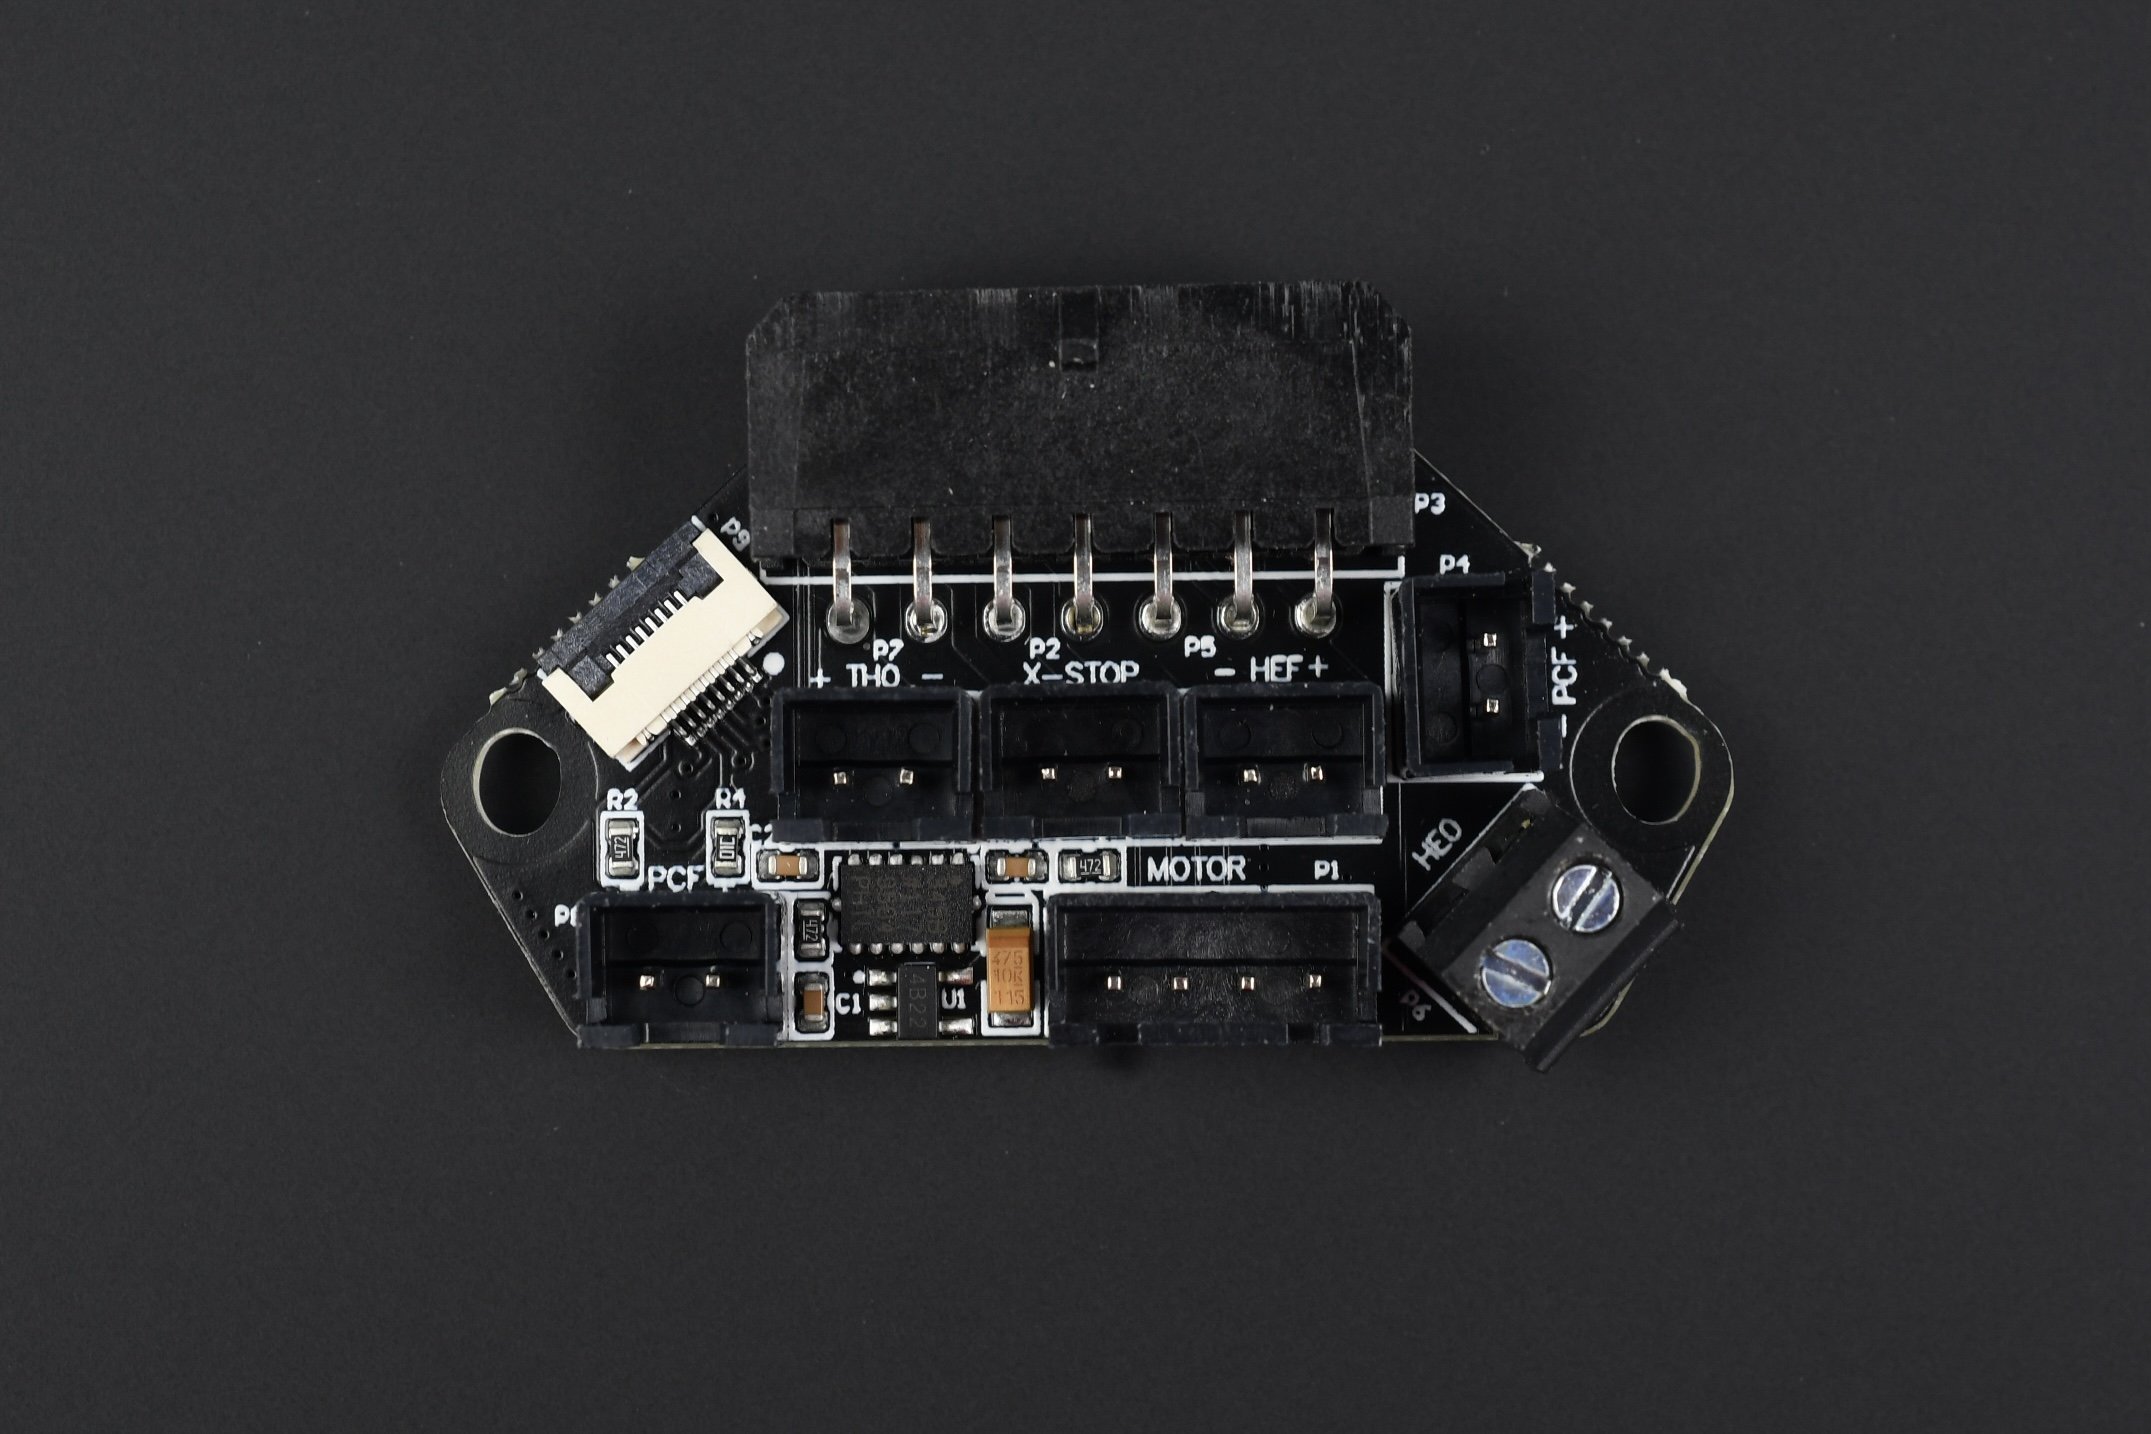
Picobilical Breakout boards - allows to easily connect the tool head with the Mainboard and add a lot of functions, like a build in ADXL chip, chamber thermister, 3 more Neopixel connectors, a speaker
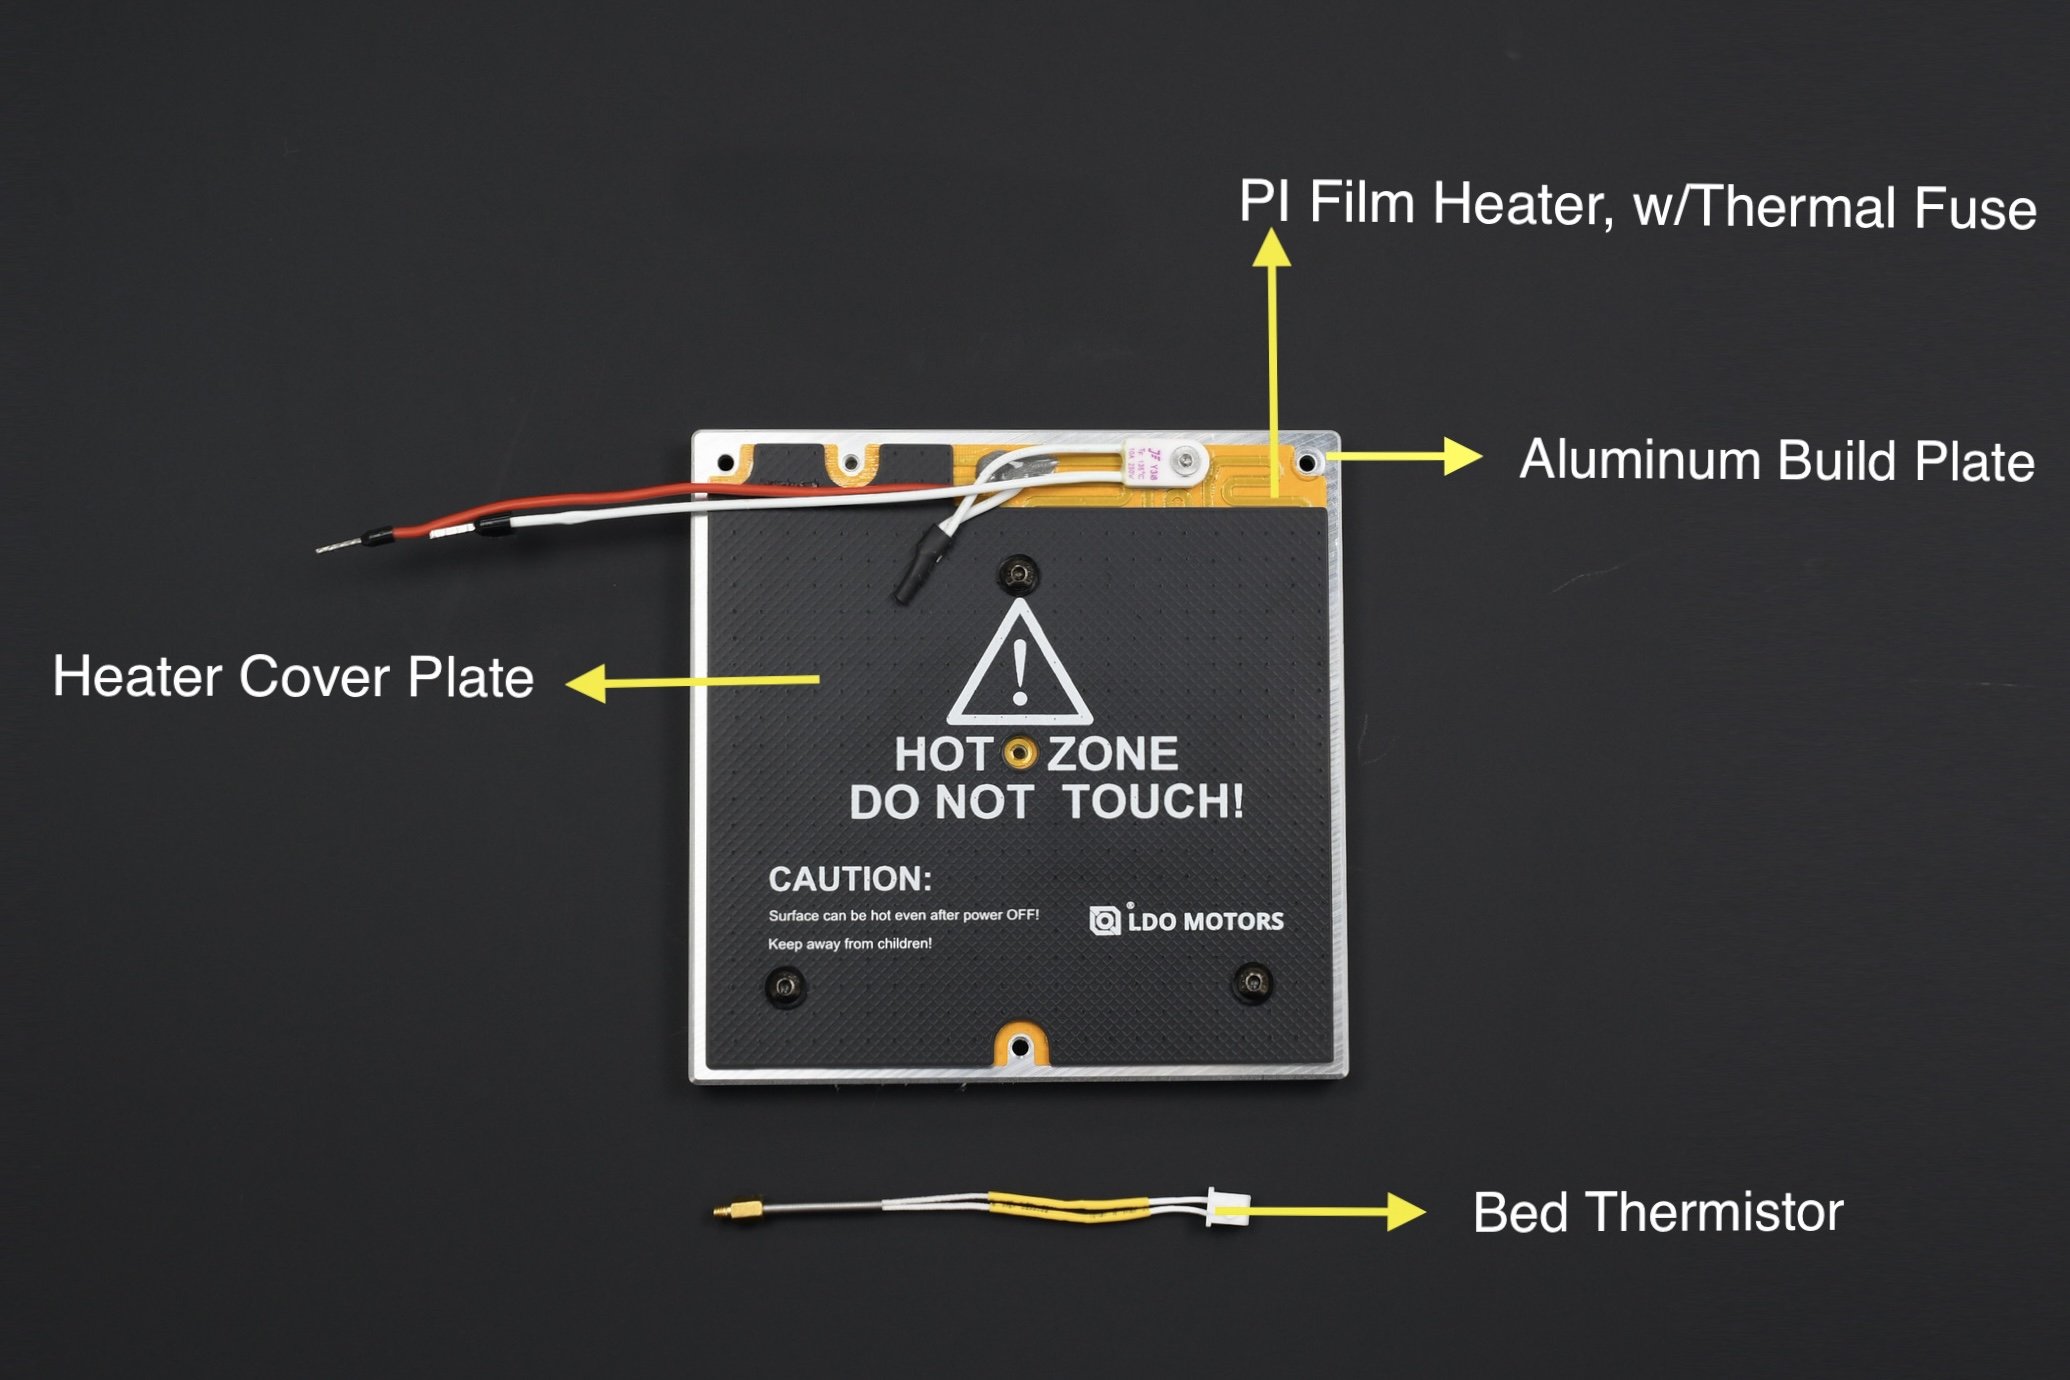
Polyimide film heater - a full-size heater, that allows very quick heating of the build plate, especially on the rands.
200W power supply - deliver more power to the bed
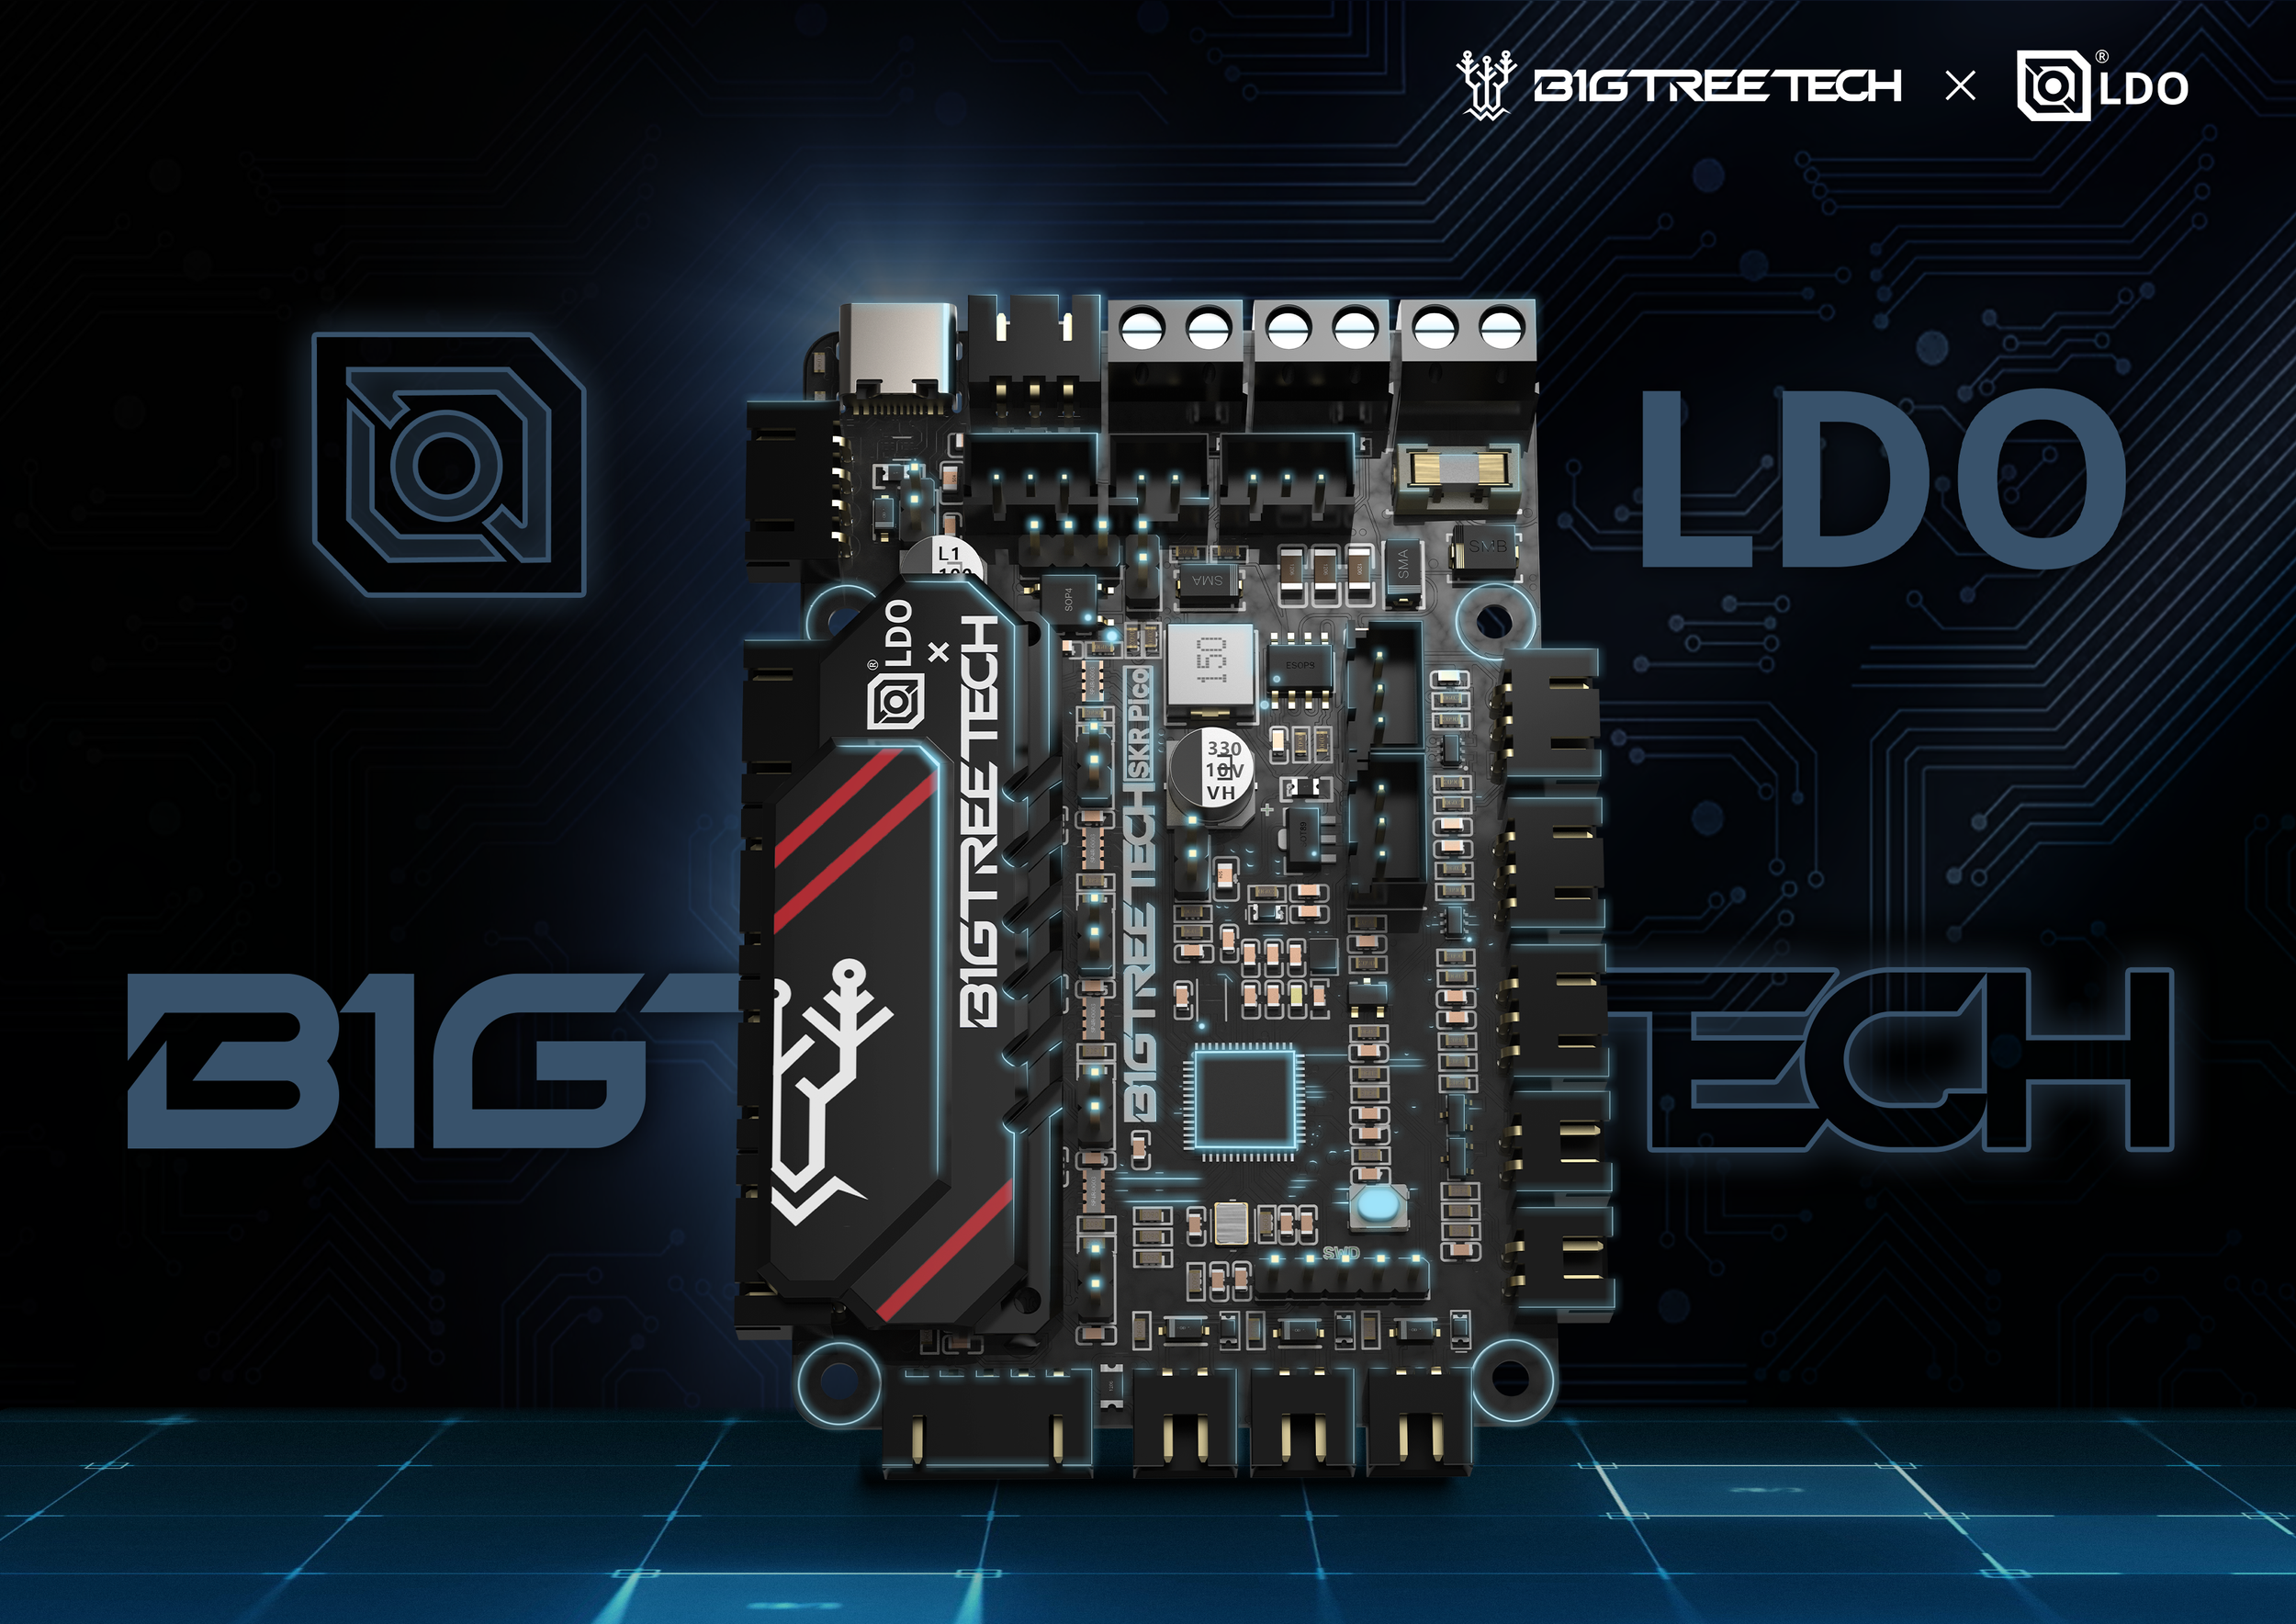
BTT SKR Pico Mainboard - new improved and compact mainboard.
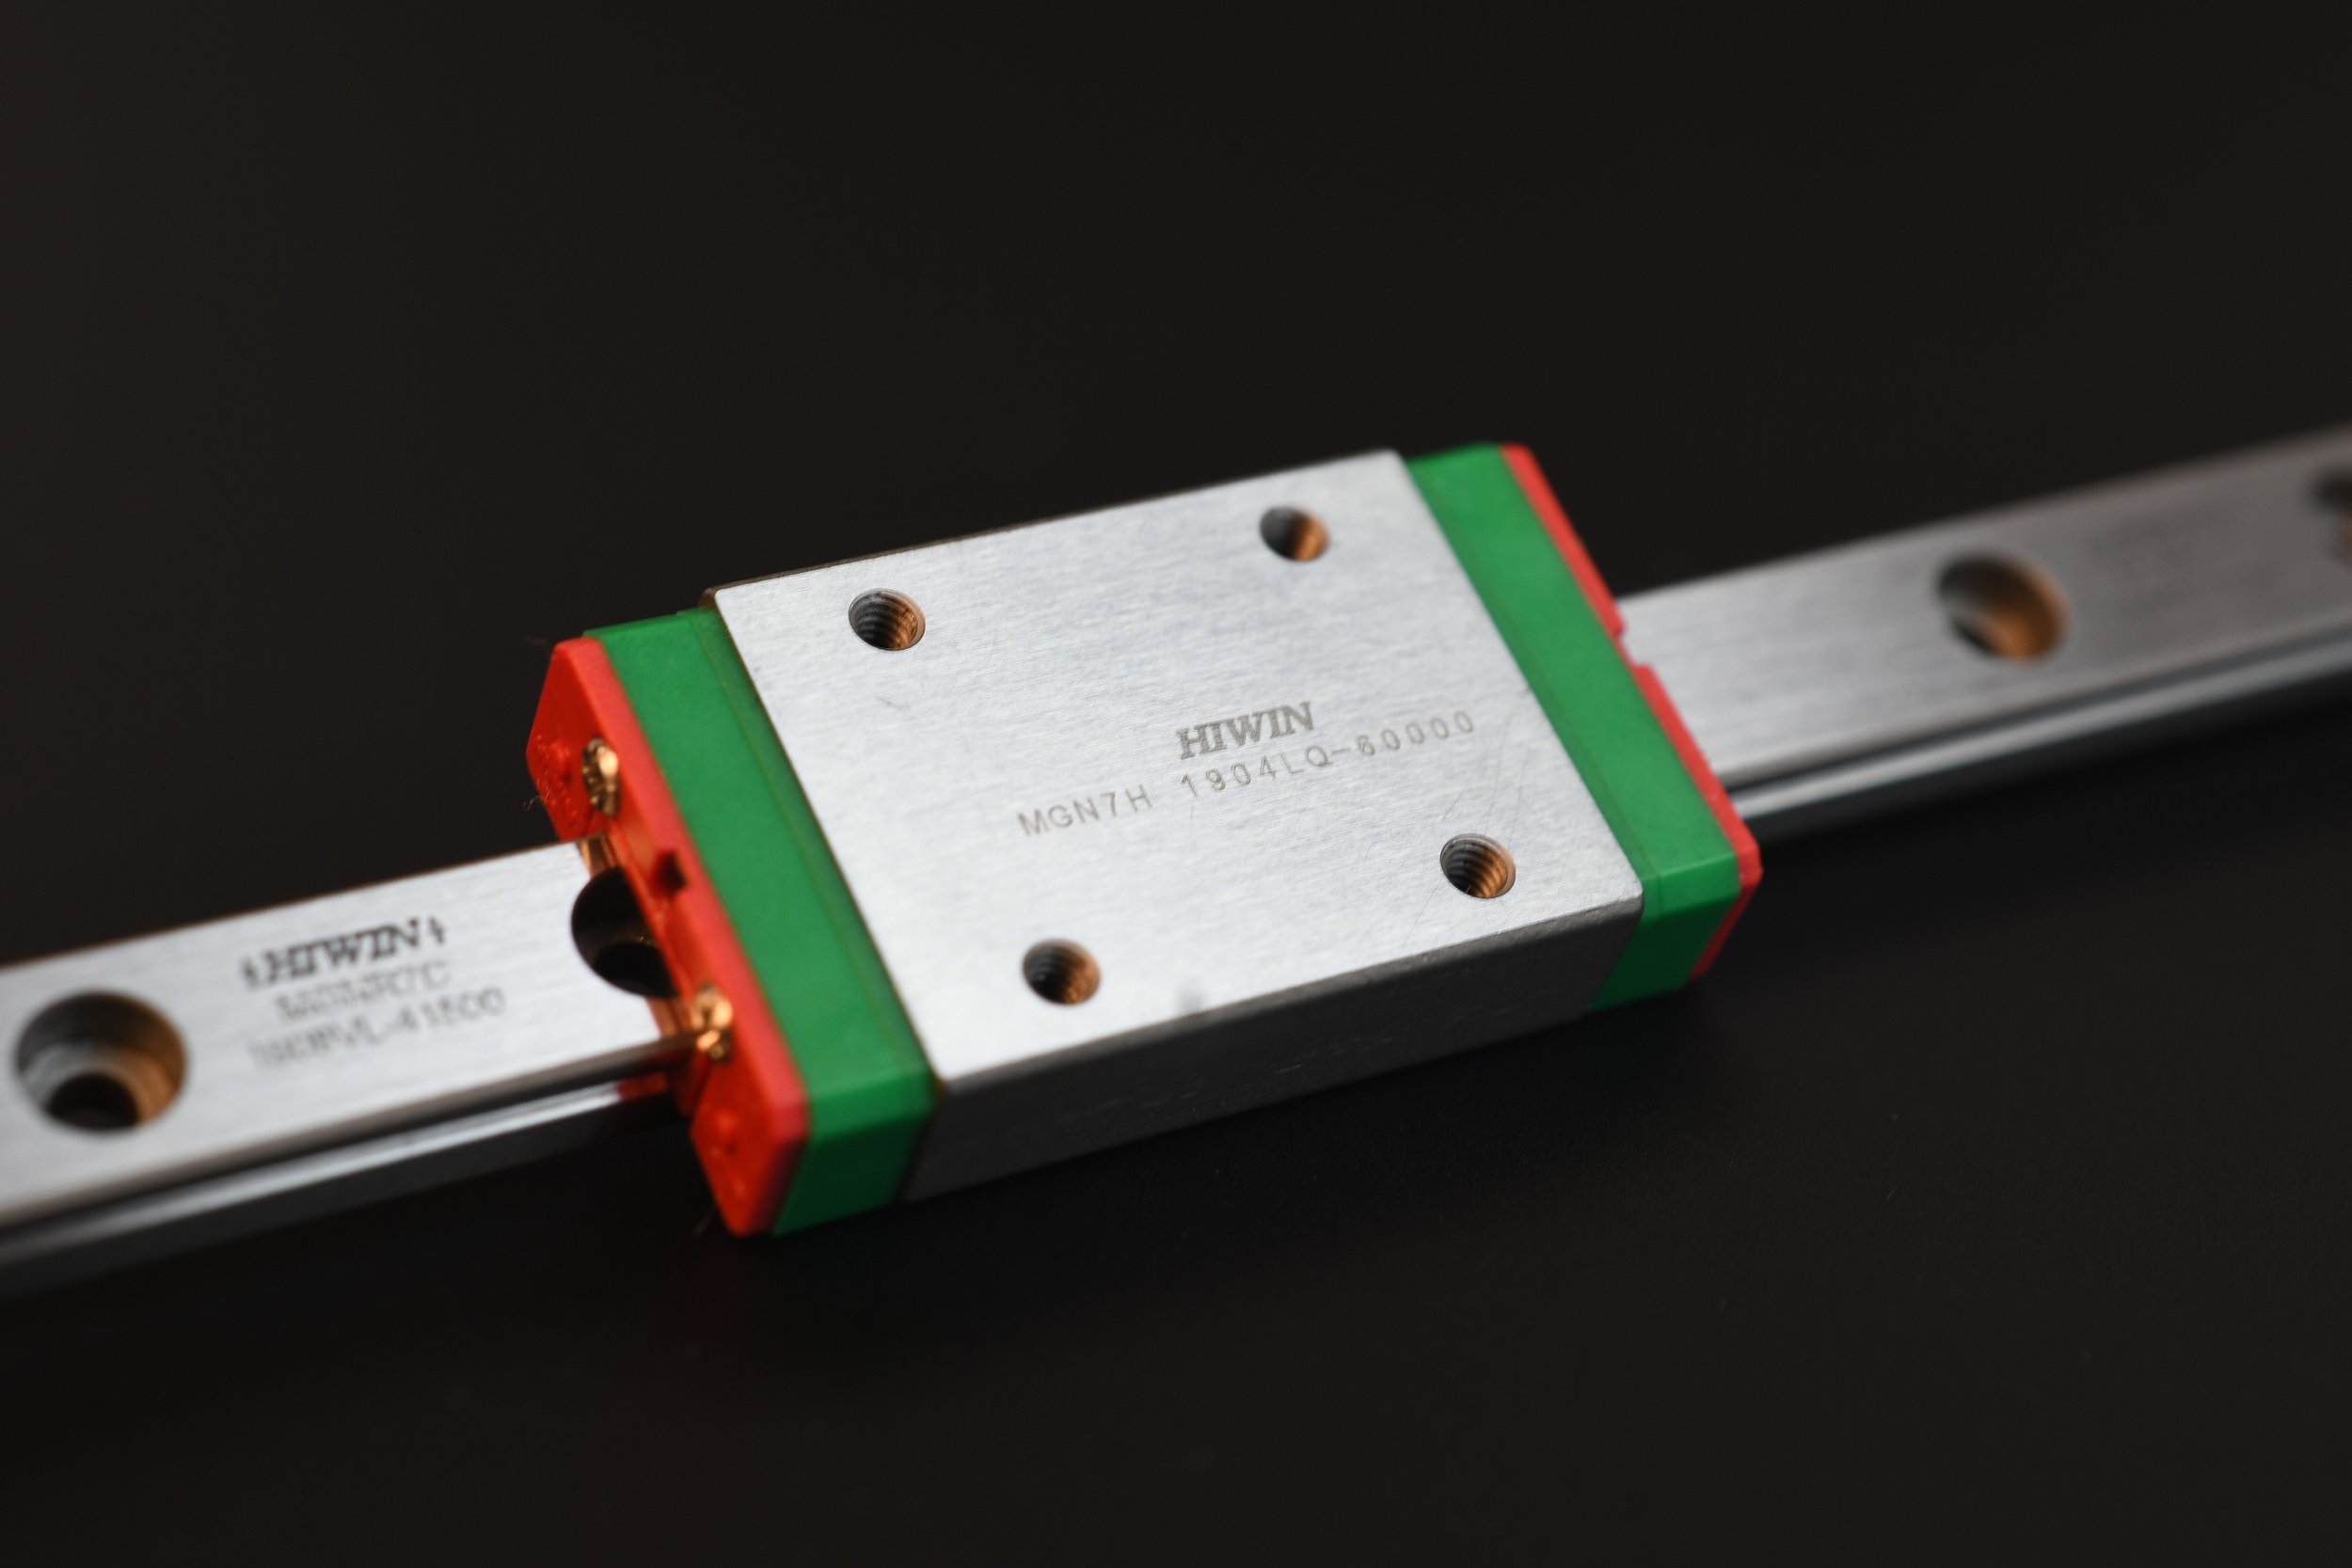
HiWIN Linear Rail for X-axis - high-quality rail with a higher preload to prevent unintended movements of the tool head in the y direction.
10 cm height hut - to allow more room for the umbilical cable and reverse bowden tube.
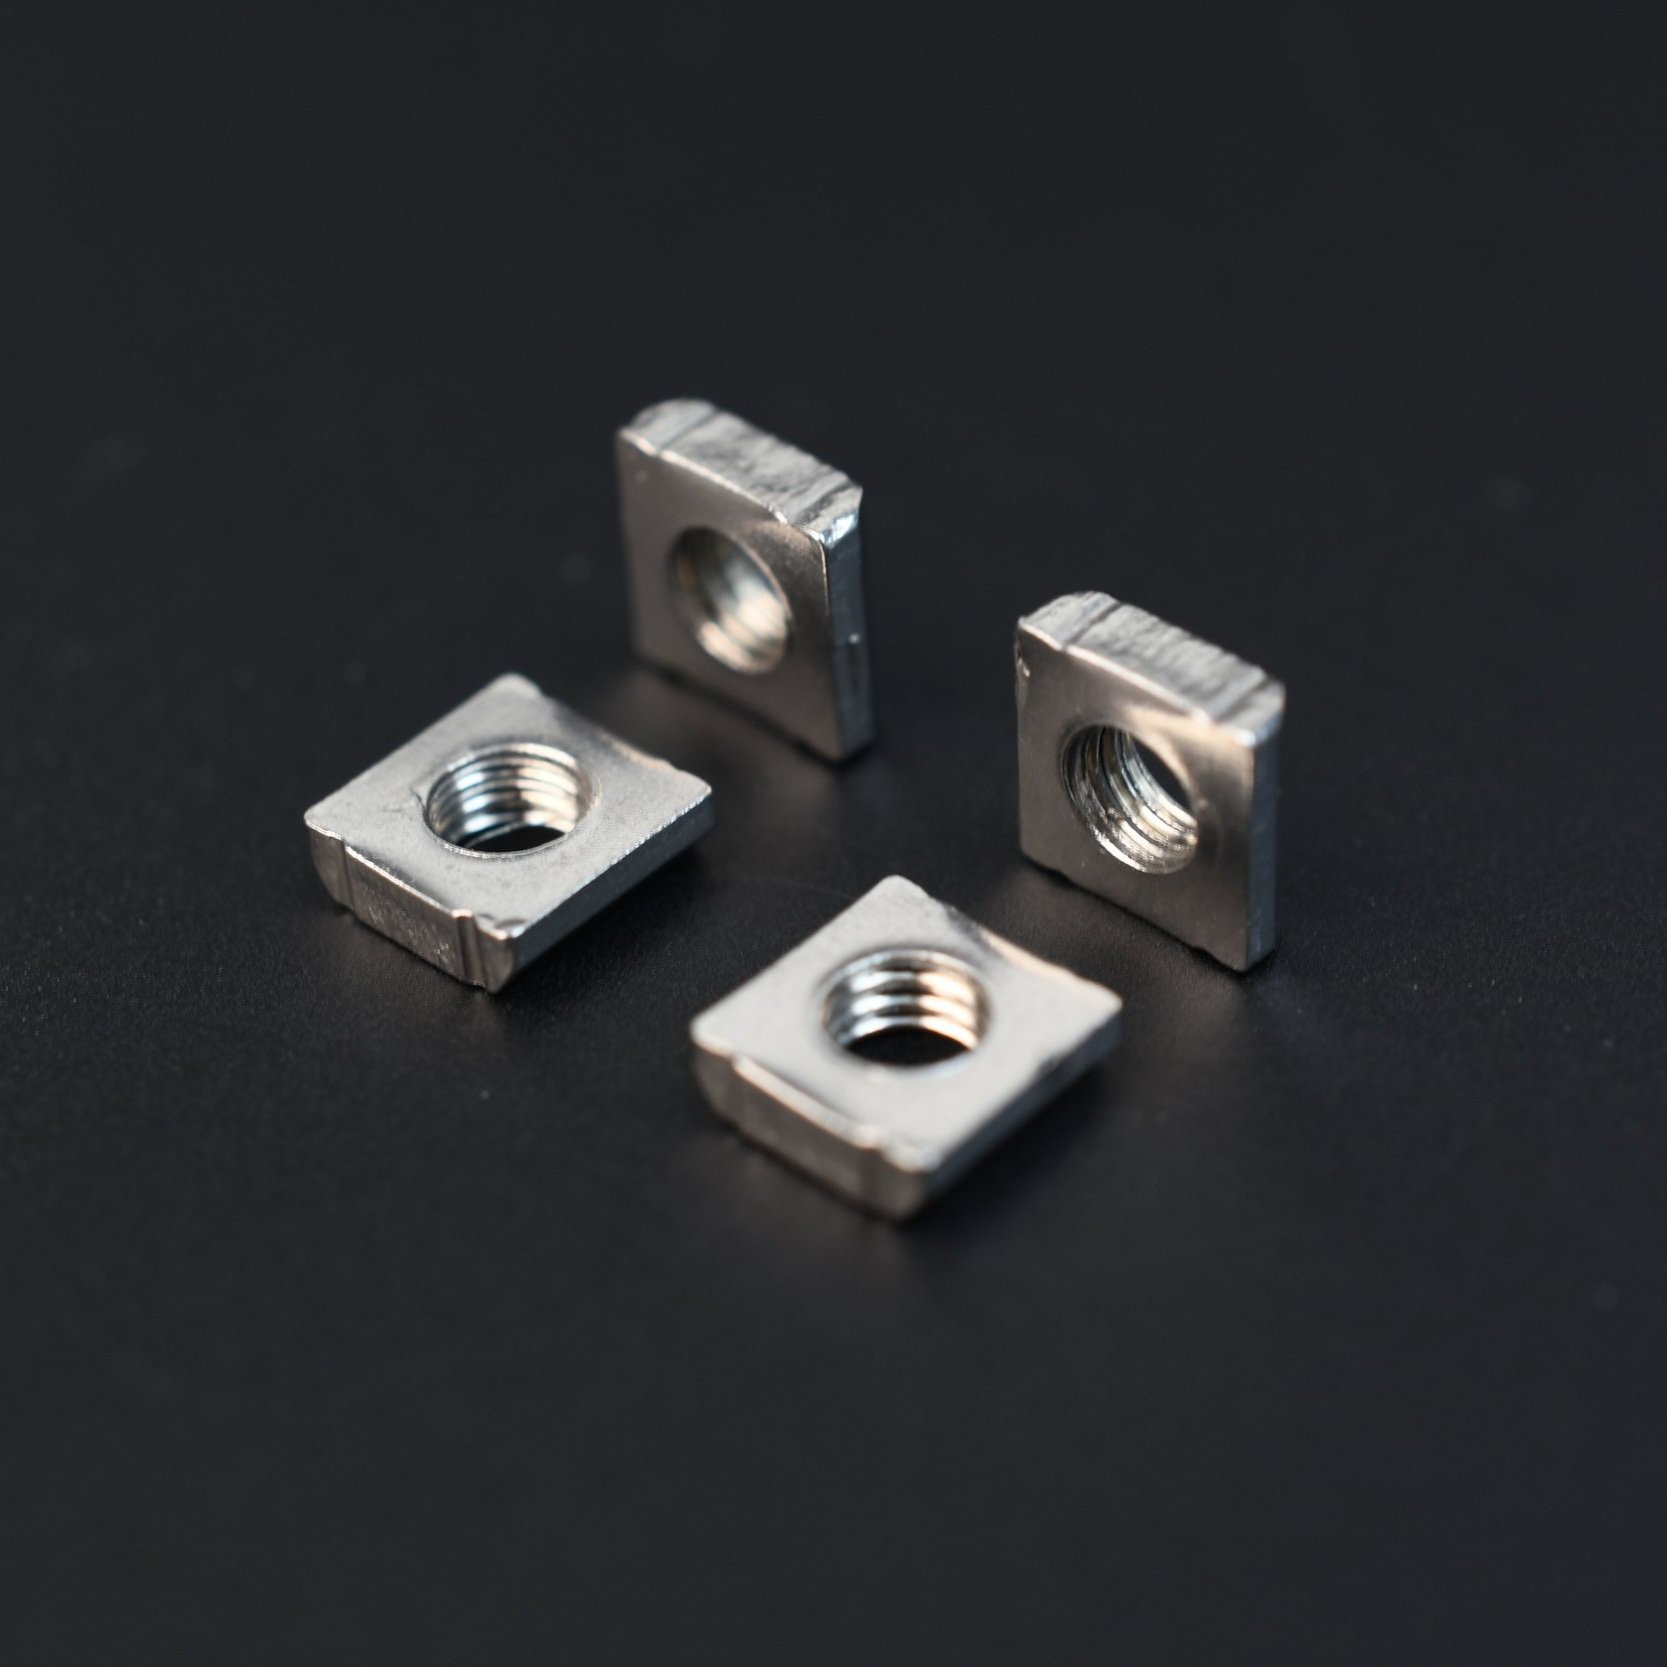
Slide-in M3 Nut- makes it easy to add something if you forgot a normal M3 nut.
Stainless Steel Linear Rails - That's right, no more worrying about rusty rails. Remember to properly lubricate your linear rails!
Linear Rail Mounting Bar - Our kit includes 5 custom 7H size linear rail mounting bar to secure the linear rails onto the extrusions, (no need to fiddle with tiny m2 nuts on a thin plastic part)
Brass Heatset Insert Tool - We've included a custom machined brass tip for your soldering iron, use it to install heatset inserts with ease! Check here for more information.
Pre-cut & Pre-wired - Our kit includes all necessary wiring: cut to just the right length and pre-crimped or soldered to their respective parts. See our supplementary wiring guide here.
Partially Threaded Screws - The small pack of partially threaded SHCS screws (M3x30/x35) are for the mini-afterburner, they help reduce wear on the Guidler and Latch parts.
Hex Wrenches - We found that 1.5mm hex wrenches wear out easily, so we threw in a bunch of them. However, you should definitely still buy a set of good-quality hex wrenches.
Threadlocker - Rev. A kits include a small tube of threadlocker for use on grub(set) screws. Starting from Rev. B, a separate bag of set screws with precoated threadlocker is included.
2mm Drill Bit - Metric drill bits may not be very common in some parts of the world, so we included one. Use it to ream the filament path in your printed extruder parts.
RTV Glue - Rev. A kits include a tube of RTV glue for securing the heat pad to the aluminum build plate. Check out this great video by Nero3D for assembling a safe build plate. Starting from Rev. B, build plates will ship partially assembled with the heat pad and RTV glue pre-applied.
Tips
Take advantage of the Voron on Discord: https://discord.gg/voron. The community is very active on Discord and the users are very helpful on the #voron_0_questions channel.
Since printed parts are NOT included with the kit, it is recommended to get them through the Voron Print It Forward program if you are unable to print them for yourself. They will provide the essential parts for a very reasonable cost to get your printer working.
Download Fusion 360 and get a free license to view the 3D model of the printer. The 3D model is a very useful reference when the manual is ambiguous or unclear.
Use the No-Drop Nut mod by zruncho, this mod helps secure hex nuts within the extrusion.
Check out Nero 3D's Youtube channel, he has a ton of videos on assembling Voron printers.
Get a serial number once you finish building your Voron.
The stock LDO kits include 2mm tophat panels, all other panels are 3mm (see supplementary print guide).However, some vendors will include their own unique panels, check with your vendor.
The Z axis cable chain may include more links than needed. When installing, move the build plate to the most most position, then fit the cable chain and remove links as needed. Beware, if your cable chain is too long, it may interfere with Z homing!
Guides
Printed Parts Guide (LDO supplement) - Are you planning on printing parts before the kit arrives? Read our supplementary print guide to see which parts to print/replace/omit.
Wiring Guide - We created this supplementary wiring guide to make wiring your printer a breeze.
Nuts in 1515 Extrusions - See our short guide here for tips on handling nuts in 1515 aluminium extrusions.
Tuning Guide - We highly recommend reading over this very detailed tuning guide by Ellis to help print out the best possible looking parts.
Build/Review Videos
Nero 3D's V0.1 Build Marathon
Vector 3D V0.1 Youtube Playlist
ModbotArmy V0.1 Youtube Playlist
